About Alan Stratton

Alan Stratton has been a member since August 11th 2017, and has created 678 posts from scratch.

Alan Stratton's Bio

Alan Stratton's Websites

This Author's Website is http://www.AsWoodTurns.com

Alan Stratton's Recent Articles

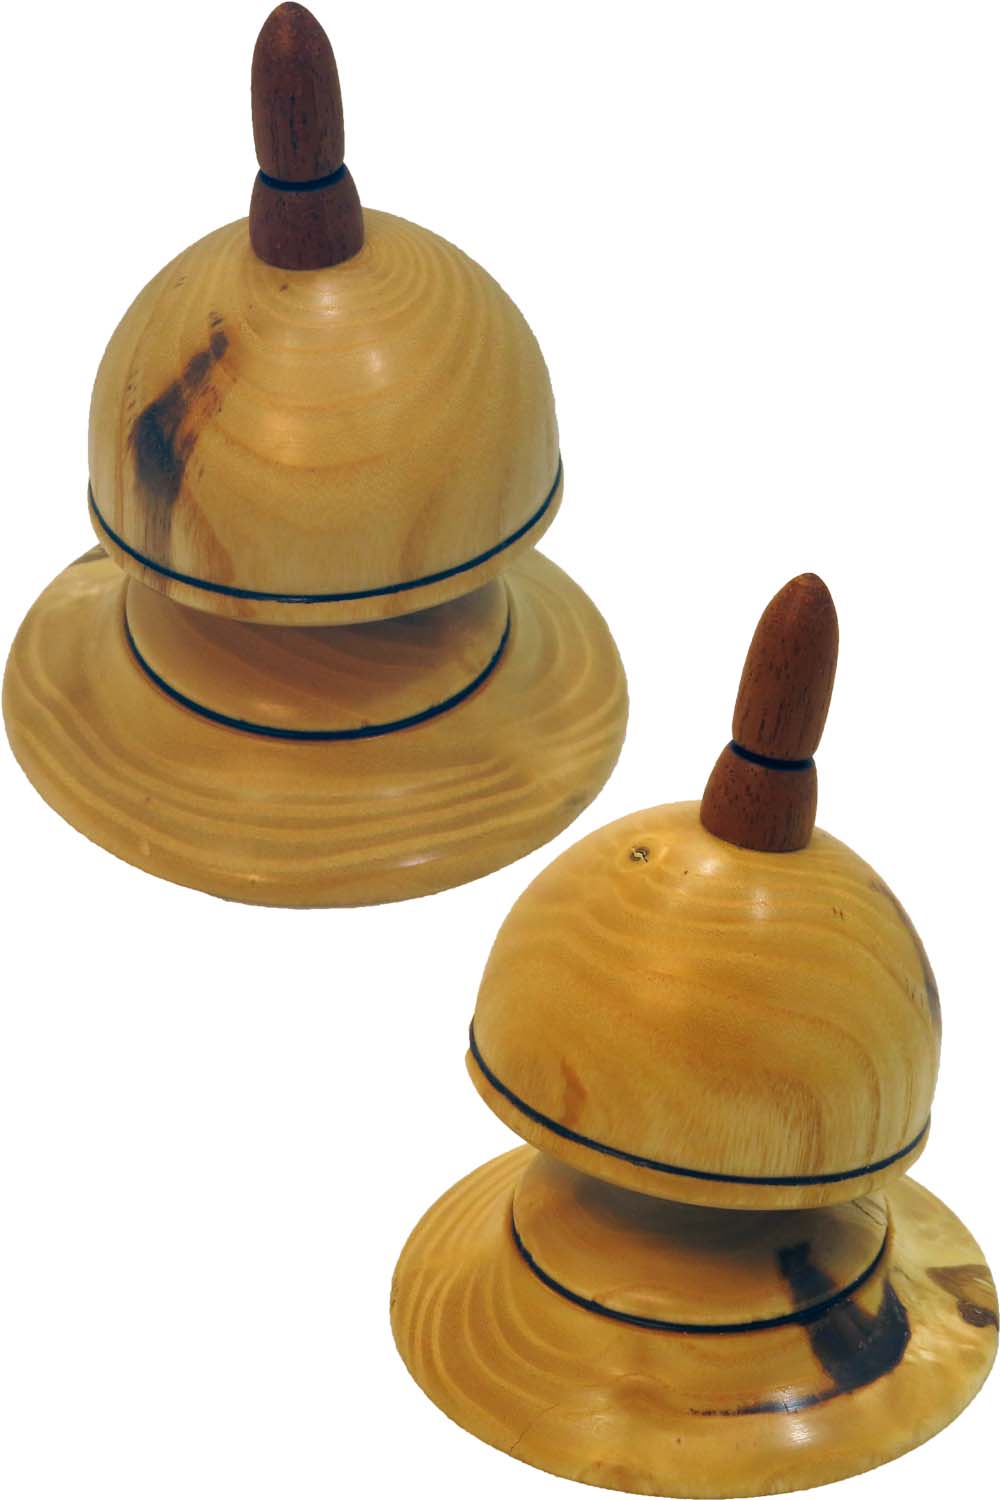
Woodturning Captured Pedestal Spin Top – But…??

Spin Top Captured on Pedestal

For this project I wanted to replicate a project from an AAW video. However, after turning a Captured Pedestal Spin Top as demonstrated at AAW, I could not show the video. In my opinion, the key process was too difficult and fiddly. I prefer processes that anyone can follow to replicate. The original involved an acorn nut and a small bolt that had to be inserted into a small cavity. This part was difficult to handle even after checking with a buddy who had also turned one as demonstrated.

My design requires no special hardware. Instead, the key components are separated into individual components that are easily turned and replicated if necessary. If a mistake is made while learning, the key components can be discarded and again made quickly and easily.

My spin top is mostly ash and about 3 inches in diameter and 4 inches tall, finished with shellac. The video has a diagram of the key components.

In this video, I use a collet chuck for dowels and finials. However, a collet chuck is NOT a requirement since any chuck that can hold a small cylinder will suffice. A collet chuck uses collets each of which is sized for a very limited size range. If the wood being turned is too large for the collet, the collet cannot be forced – a larger collet is required. However, also, if the wood being turned is too small for the collet, the collet may not be able to clamp securely. In other words, each collet has a limited range of wood sizes it can hold. My original collet set has collets for .25, .375, .5, .625, and .75 inch. These are ER-32 collets which specifies their overall shape. I have supplemented the original collets with an additional set from Amazon incrementing by thirty-seconds. Now, it will hold any wood in its range.

Since I was not pleased with the original design as demonstrated, I came up with another design. I hope this sparks an idea for you to improve upon my design. I want to see your ideas. Let me know.

Enjoy.

If you happen to have technical difficulties, this video is also posted on YouTube. But it is best right here. So stick around.
Woodturning Beyond A Basic Sphere: Now Beaded and Hollowed

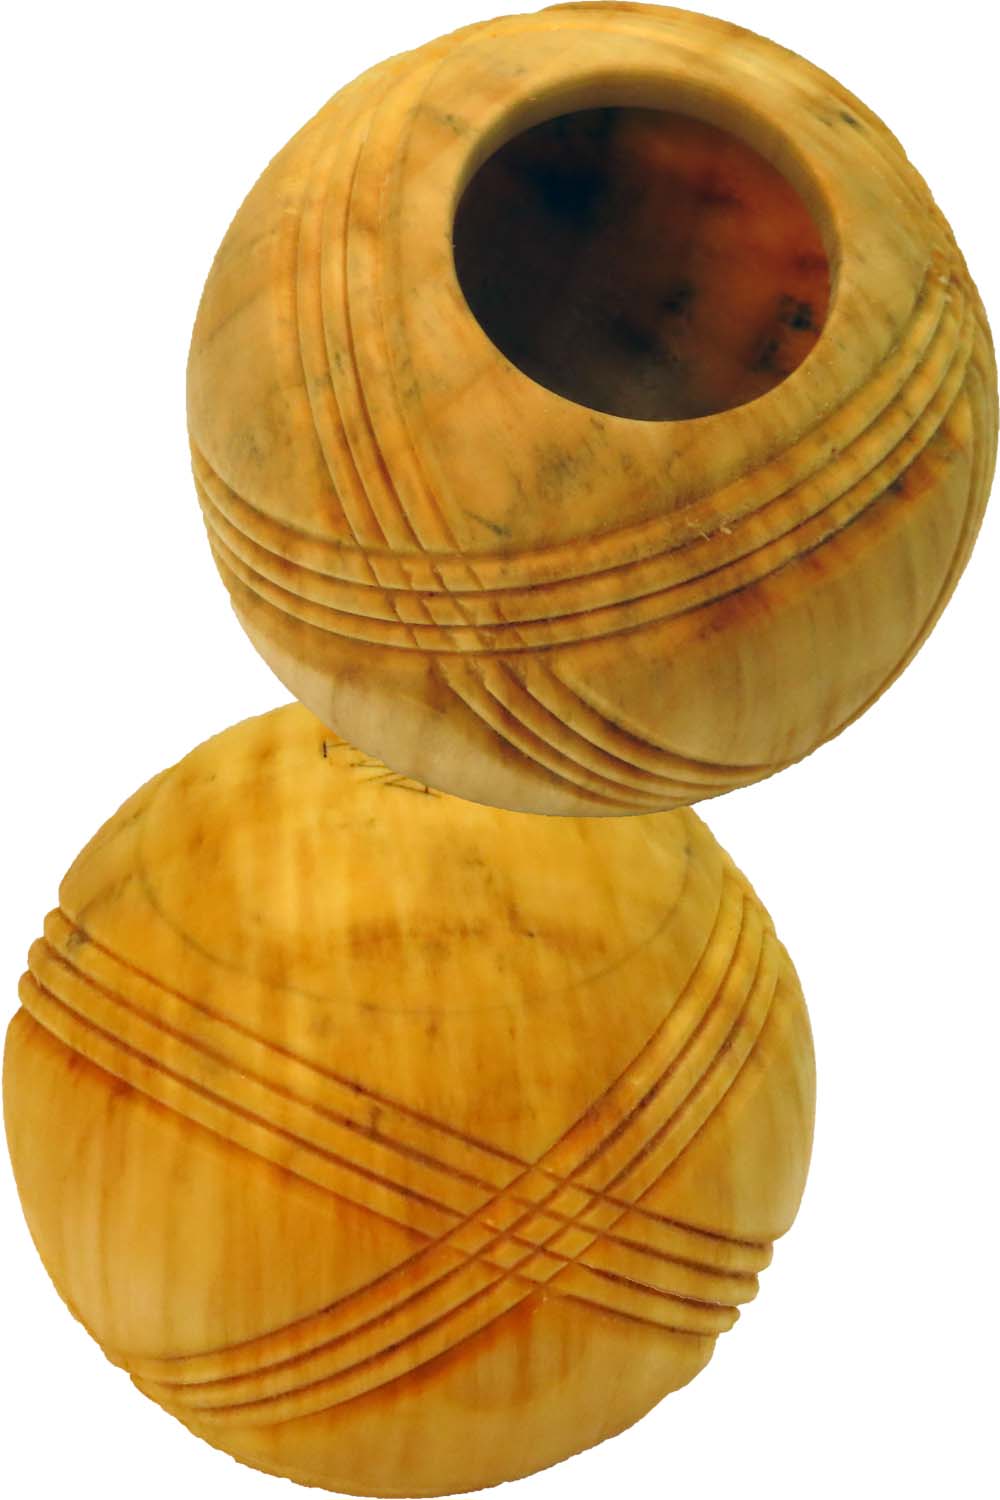
Decorated Sphere

If you happen to have technical difficulties, this video is also posted on YouTube. But it is best right here. So stick around.

During this project, I turn a sphere using the octagon process and refine it with a process using cup faceplates. This saves me money because I have avoided purchasing a sphere jig. The octagon process guides any woodturner including novices to learn and to turn a sphere quickly and easily.

However, this project goes beyond a basic sphere to apply an interesting bead pattern and to hollow the sphere.

My decorated sphere is poplar about three inches (75 mm) diameter finished with my utility finish of beeswax and mineral oil. By the way, this is a mixture of 1/4 pound beeswax to 1 pint of mineral oil. The beeswax is chopped up into a container in which the mineral oil is also poured. I used attic heat over two days to melt the mixture (stirring after one day). I could have used my hot car in the summer but my attic does not move. These options avoid using a double boiler that would otherwise have been required for fire safety.

I cut the beads with a D-Way beading tool.

For hollowing, I used my DIY doughnut chuck which consists of:

  • a base plate (mine is threaded instead of a steel faceplate);
  • three T-nuts in the base plate (1/4″ x 20 tpi) oriented so that bolt tension pulls them into the wood instead of out of the wood.
  • To the base plate, I can attach various options such as cup faceplates or center positioners so that I can use this doughnut chuck for sphere, vases, or whatever.
  • An outer cinch plate through which has recessed holes for three bolts to cinch up to the baseplate.
  • The outer plate has a mortised hole to receive a custom rings to fit to various projects.
  • An assortment of 1/4″x20 bolts of various sizes to accommodate different project needs. IMPORTANT. for safety these bolts go from the cinch plate to the base plate so than any excess length is between the baseplate and the lathe headstock. In other words, well away from the work area.

Enjoy.

Woodturning End Grain Bowl or Dish From Limb Wood

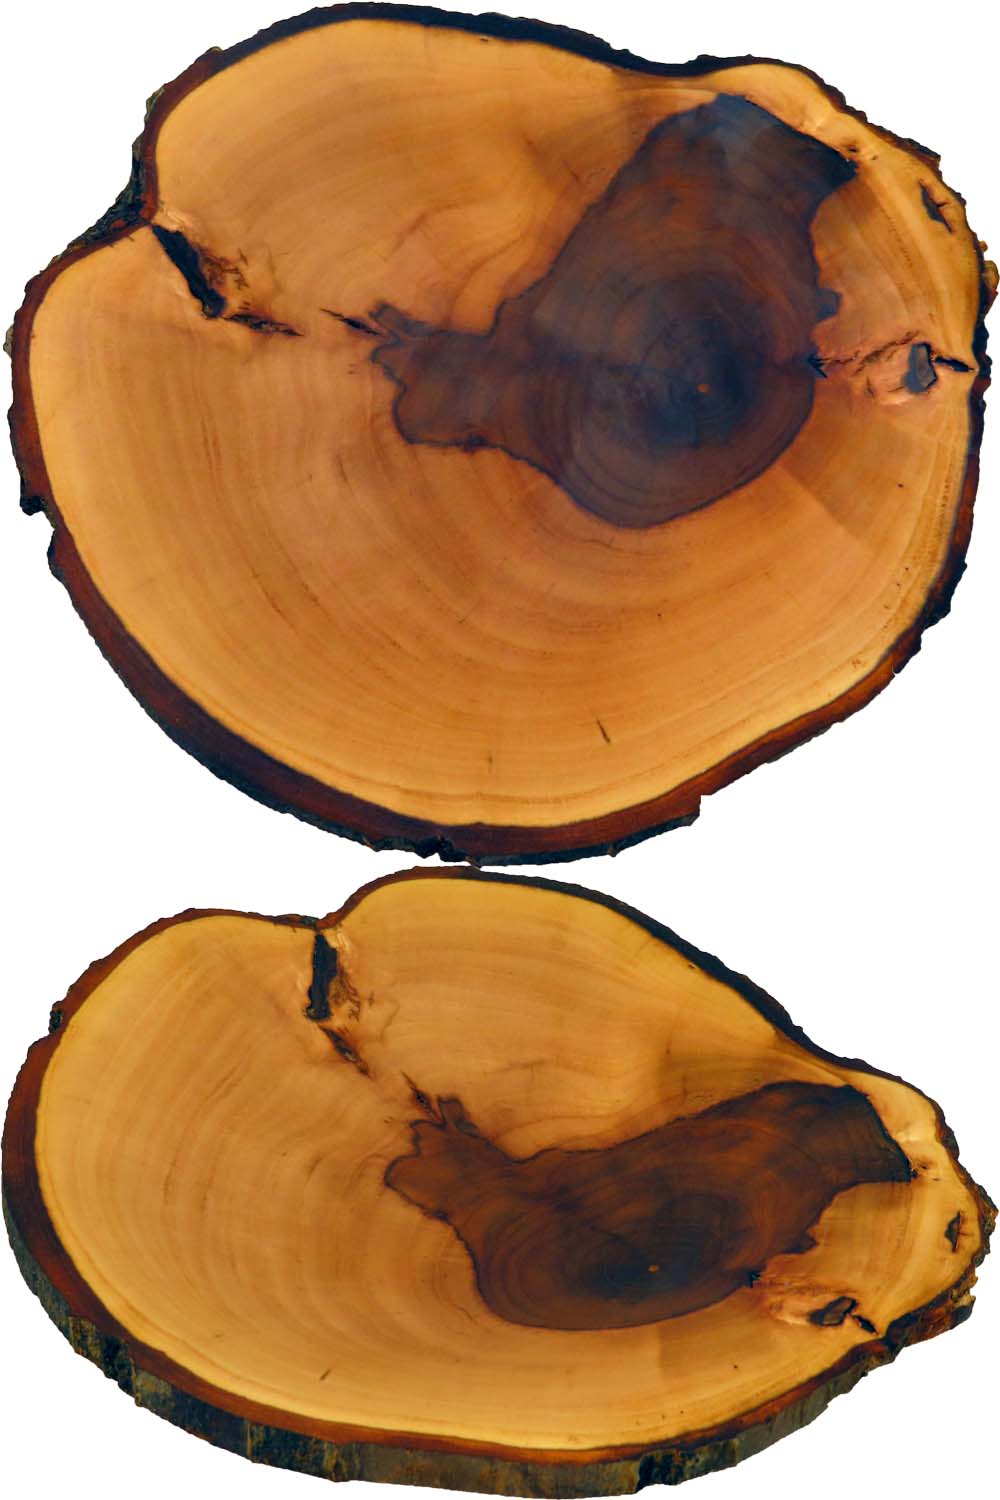
Apple End Grain Bowl

If you happen to have technical difficulties, this video is also posted on YouTube. But it is best right here. So stick around.

Turned bowls are the bread and butter of woodturning. However, most are deep cross grain bowls. At least these seem to get most of the attention.

In end grain bowl, the grain is vertical instead of horizontal. To their credit the grain pattern in cross grain bowls are arguably more dramatic. Still, there is room for beauty in these end grain bowls.

My wood is apple, finished with walnut oil. It is six inches diameter.

Enjoy.

Woodturning Segmented Drunken Vase

Drunken Segmented Vase

If you happen to have technical difficulties, this video is also posted on YouTube. But it is best right here. So stick around.

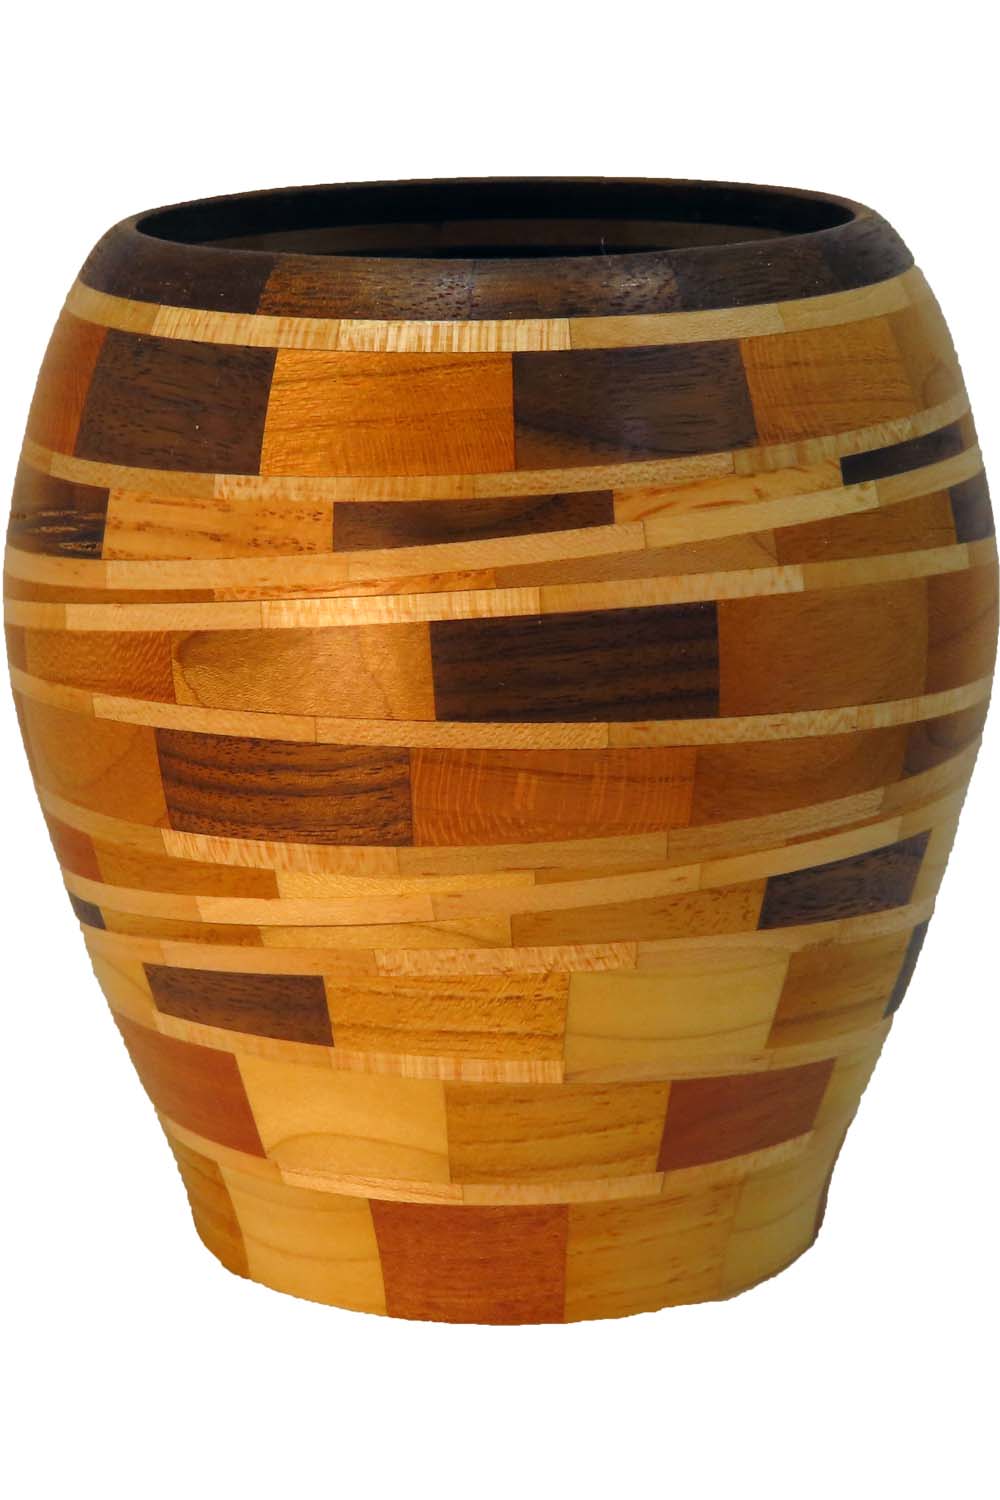
Years ago, I created a segmented vase with slanted segmented rings. In that case, I sanded each ring to achieve the angled profile. It was a lot of work. Since then I have developed several methods to split, saw, or cut rings on either the lathe or the bandsaw. I also have a method to saw a ring on the table saw but that method does not yield as well as either the bandsaw or lathe methods.

The lathe method can only split a segment ring into two parallel rings which is especially useful to create thin rings which are difficult to glue up from thin stock.

However, my band saw sled can create both parallel and angled segment rings. It has additional features to creatively saw any project that can be mounted to a lathe chuck or lathe faceplate.

The vase is about five inches diameter and five inches tall. The finished project has 21 segmented rings of 12 segments each for a total of 252 segments. The base is created with an approach similar to plywood. However, it uses project wood glued together in cross banded layers. I prefer this style of base over a floating base.

Do you like my sled? More pictures on my Etsy site.
https://www.etsy.com/shop/AsWoodTurnsTools

Enjoy.

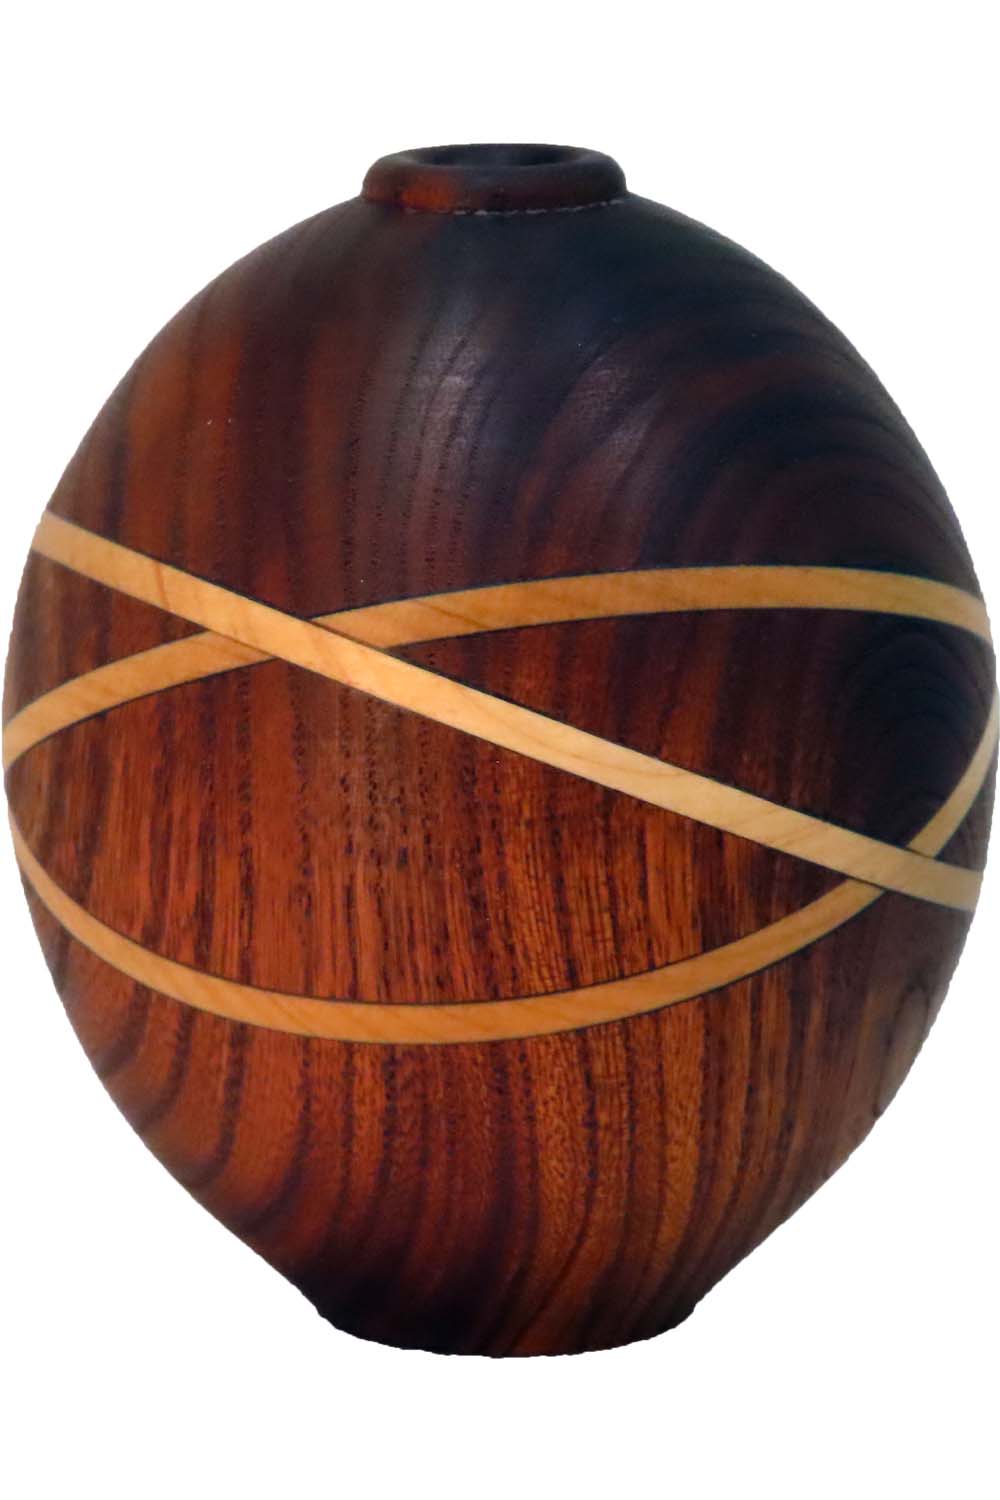
Woodturning Three Loop Celtic Style Vase With Tiny Neck Opening

Hollow Vase from Russian Olive

If you happen to have technical difficulties, this video is also posted on YouTube. But it is best right here. So stick around.


After club demonstrations I frequently like to create my own version. This was the case after a Mike Jackofsky demonstration on hollow forms with tiny hole. I also like, when possible, to put my own spin on the project.

In this case, the criteria is a tiny neck hole and a hollow form. But I did not want to hollow the wood through a tiny hole. Instead, for my spin, I incorporated a Celtic knot process. My Celtic knot process involves slicing through the wood to insert contrasting wood.

I decided to adapt the Celtic knot process to hollow the vase while it was sliced apart. There was a downside to my decision: the slanted face of a partial vase is a tough starting point for hollowing. Yet, this was easier than hollowing through a 3/8″ hole. But, you need to watch the video.

My vase is Russian olive about 3″ diameter and 4″ tall. The inserts are maple. It is finished with wipe-on poly. The neck hole is 3/8″

Do you like my sled? More pictures on my Etsy site.

Enjoy.