Update To My DIY Lathe Steady Rest
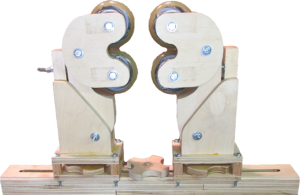
I’ve been using my home made steady rest for over a year. During this time, I’ve thought of a couple of improvements:
- Use locknuts in place of the nuts. Vibration in use caused nuts to come loose and fall off.
- Replace the base that mounts it to the lathe so that I can place the tool rest closer to the project and the steady rest.
Other than the nuts, replacing the base was the easy part. I still needed the steady to be adjustable so the key upgrade was a coupling assembly. This assembly enables the steady upright to be attached to the base but enables adjustment without any tools.
I used the original steady replacing the base, adding the coupling assembly, and shortening the steady’s upright. Here’s a link to the original steady rest. Here’s a link to the original post.
I hope you will find this upgrade as useful as I am.
Please be sure to understand this project completely so that you can adapt the measures to your lathe and so that you can use it safely. When you make your own tools you have both the opportunity to make quality tools adapted to your own projects and the sole responsibility for safety.
Enjoy!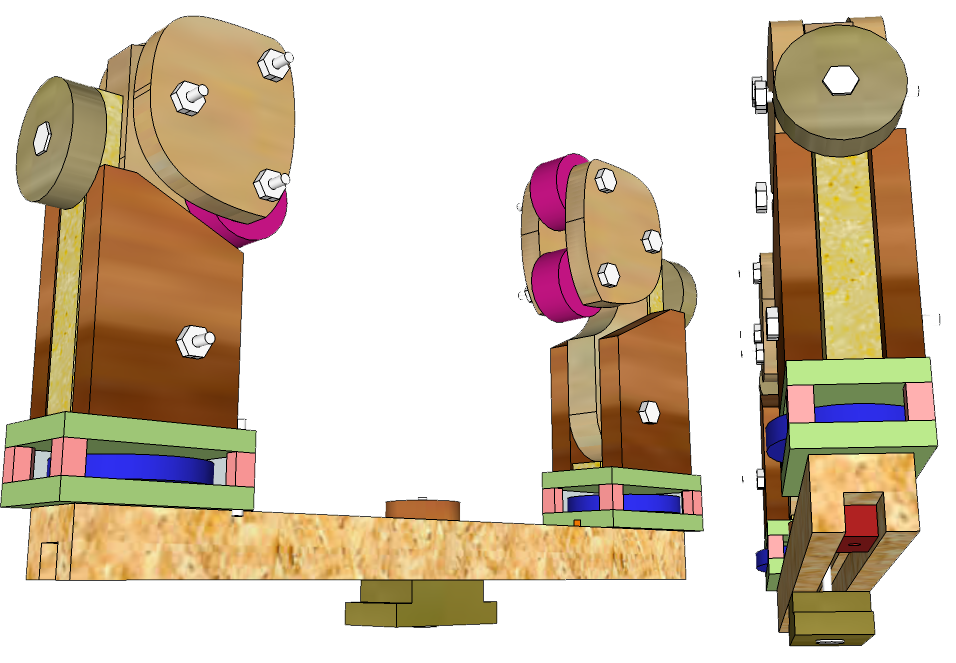
[…] buffed. The turning blank was so large, I had to use my steady rest to keep the wood in the chuck. Here’s a link to the video where I updated the steady […]