How To Hollow A Tall Thin Cherry Vase
 This video is also posted on YouTube, Vimeo, and Facebook. But you’re already here!
For this video, I wanted to combine two useful techniques. First, to rough turn a green wood project, seal it, and let it dry. The second, to split a project in half and hollow from the middle out to both ends.
I became impatient with the locust wood I had selected. So, I substituted some green cherry that I rough turned into a billet two years ago. So this is a modified first objective.
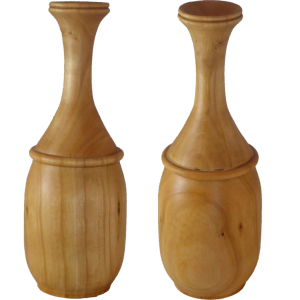
After roughing out the vase, I parted it in half. Then since it was already dry, I proceeded to hollow both the lower section and the upper section. Since it was now already dry, I then glued the two pieces back together. Then proceeded to finish my cherry vase. My vase is three inches diameter and seven inches tall finished with walnut oil.
Enjoy!
Hi Alan. Another inspiring project, something I might try now that the weather is getting colder here in Winnipeg, Canada. I really like that idea of hollowing the bottom separately, then disguising the glue joint with a bead. Obviously, when you glue the two sections back together, you try to line up the grain, so it looks like one continuous piece of wood, right? Thanks again!