Simpler, Easier, Self-Correcting Process To Create Segment Rings
This video is best viewed on this page. But, in case of difficulty, it is also posted on YouTube and FaceBook.
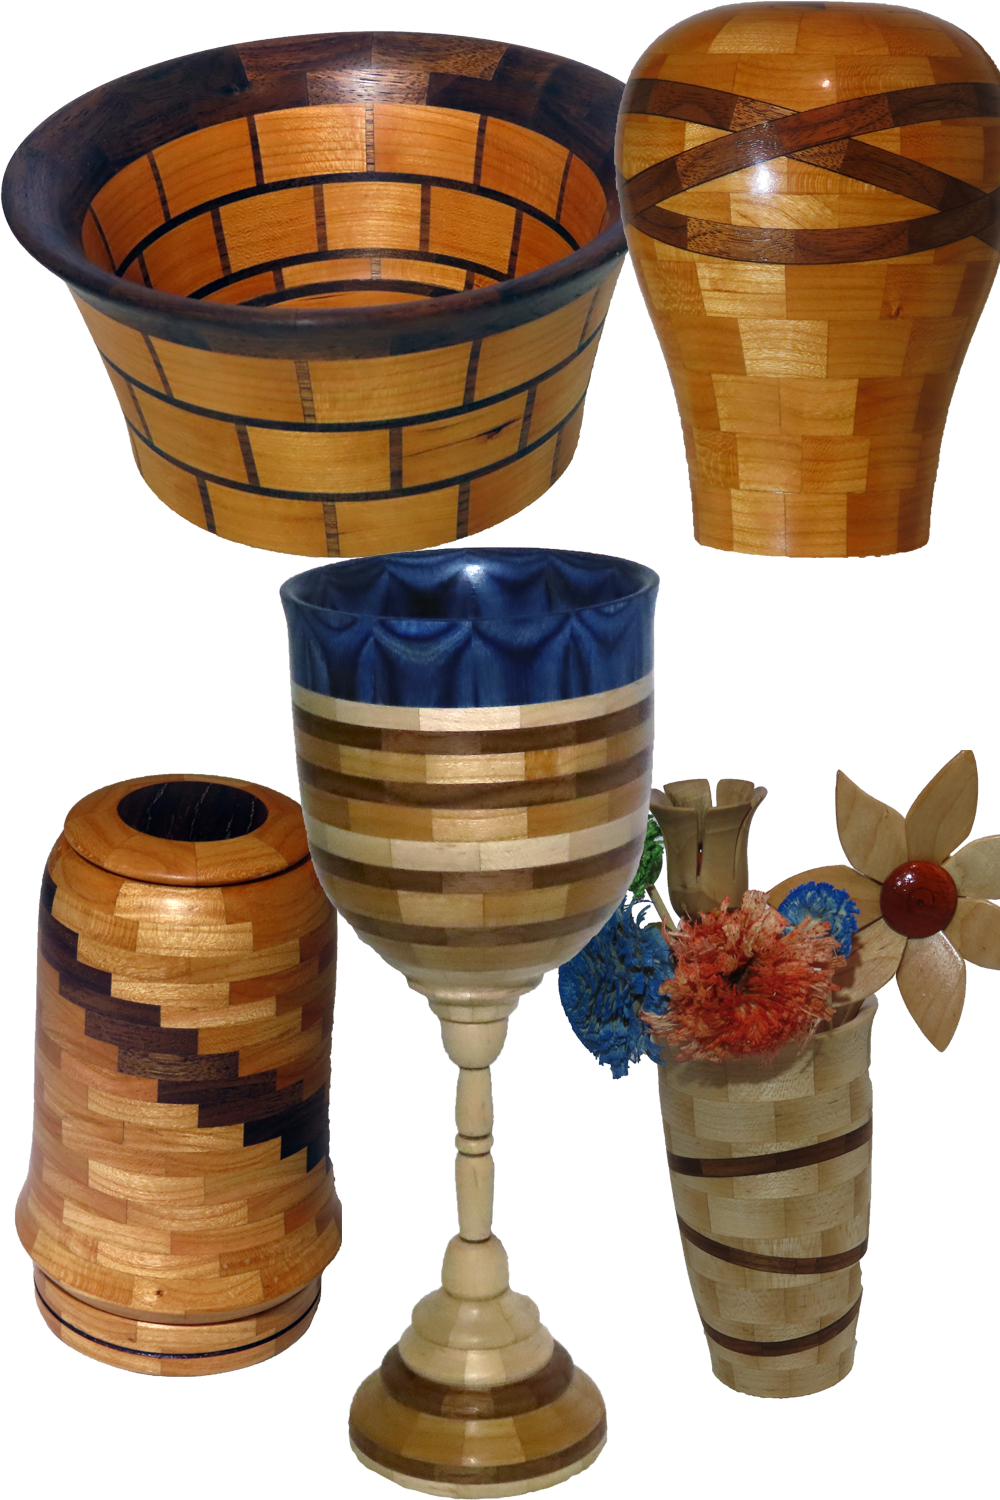
In this video, I show my current process to create segmented rings. I used to glue rings all at onece or as half rings using band clamps. However, I have now adopted a gluing technique I learned from a pattern maker in Oregon. In this simple technique, segments have glue spread on one surface. Then, rubbing two segments together spreads the glue, squeezes out the excess glue, and starts to grab or set. The segments are then set aside while other pairs are glued together. Usually, pairs can then be glued together into half rings as soon as the last pair is rubbed together. I usually give the half rings at least 20-30 minutes (depending on temperature) before sanding the mating surface and again using the rub technique to glue the two halves together.
For me, using this technique means:
- no cutting wood crumbs to disrupt a all at once ring glue;
- no need to precisely mill wood before cutting segments;
- no risk from dust in my sled;
- no risk from slight slips in segment length.
- no risk from many more sources.
This process is self correcting.
Other required gear:
My updated segment sled is 12″x16″ and uses 2 universal t-tracks for more versatility in alternate uses.
Saw throat insert with a slant board to enable cut segments to fall away from the saw blade when cut.
Segment Length stop.
Digital angle protractor(!) or various fixed angle templates.
Link to 3D printable angle templates.
https://www.printables.com/model/227714-wedgie-angle-templates-for-segmented-woodturning
Parchment paper or waxed paper is a great gluing surface.
Enjoy!
Great video as usual. It sure saves the hassles with the band clamps and the press. Do you follow with a drum sander or flatten on the lathe?
Thanks
Alan – I presume you avoid a chop saw for cutting segments because the cut piece will bind between the blade and stop. I have made a jig that has a movable stop and if interested I would be happy to send photos if you could provide an e-mail where I can send them. As always I enjoy receiving your videos every Saturday. You have great stamina to consistently produce excellent demos.
After watching this I really want to try my first segmented woodturning project. Thank you for sharing the Wedgie Angle Templates, it’s really helpful.
Go for it. Segmenting opens another area of woodturning.
Alan
Can you send me the plans on making the segments sled ?? I see that the sled is 12”x16” and looks like the universal T-track is set up 1” from blade side and 4” from the end feed side?? My question is what is the dimensions of the arms?
You have the basics. My arms are 2 inches wide and as long as the sled is wide.
Good turning.
Alan