Turning Multi Axis Eight Point Star With Jig
In case of system glitches, this video is also posted to YouTube and FaceBook. Best viewed right here.
The inspiration for this project comes from Theo Haralmapou over a year ago during an online symposium. This was reinforced at SWAT by Donna Frazier. This star is turned on three axes and therefore requires the preparation of a chuck fixture for the second and third turning. A signicant part of Theo’s presentation involved preparing the chuck fixture.
I own, design for, and operate a 3D printer. This printer has become an essential tool in my shop. Fixtures and other things that I would have made from wood or maybe aluminum, I can draw, print, and tweak until I get it right. If from wood, I would typically have one shot at completing these fixtures. As a bonus, on small items, my hands are no where near sharp blades. This fixture went further to include threads to mount to the spindle and live center.
In addition, I designed a template to guide turning the groove to the best shape and depth.
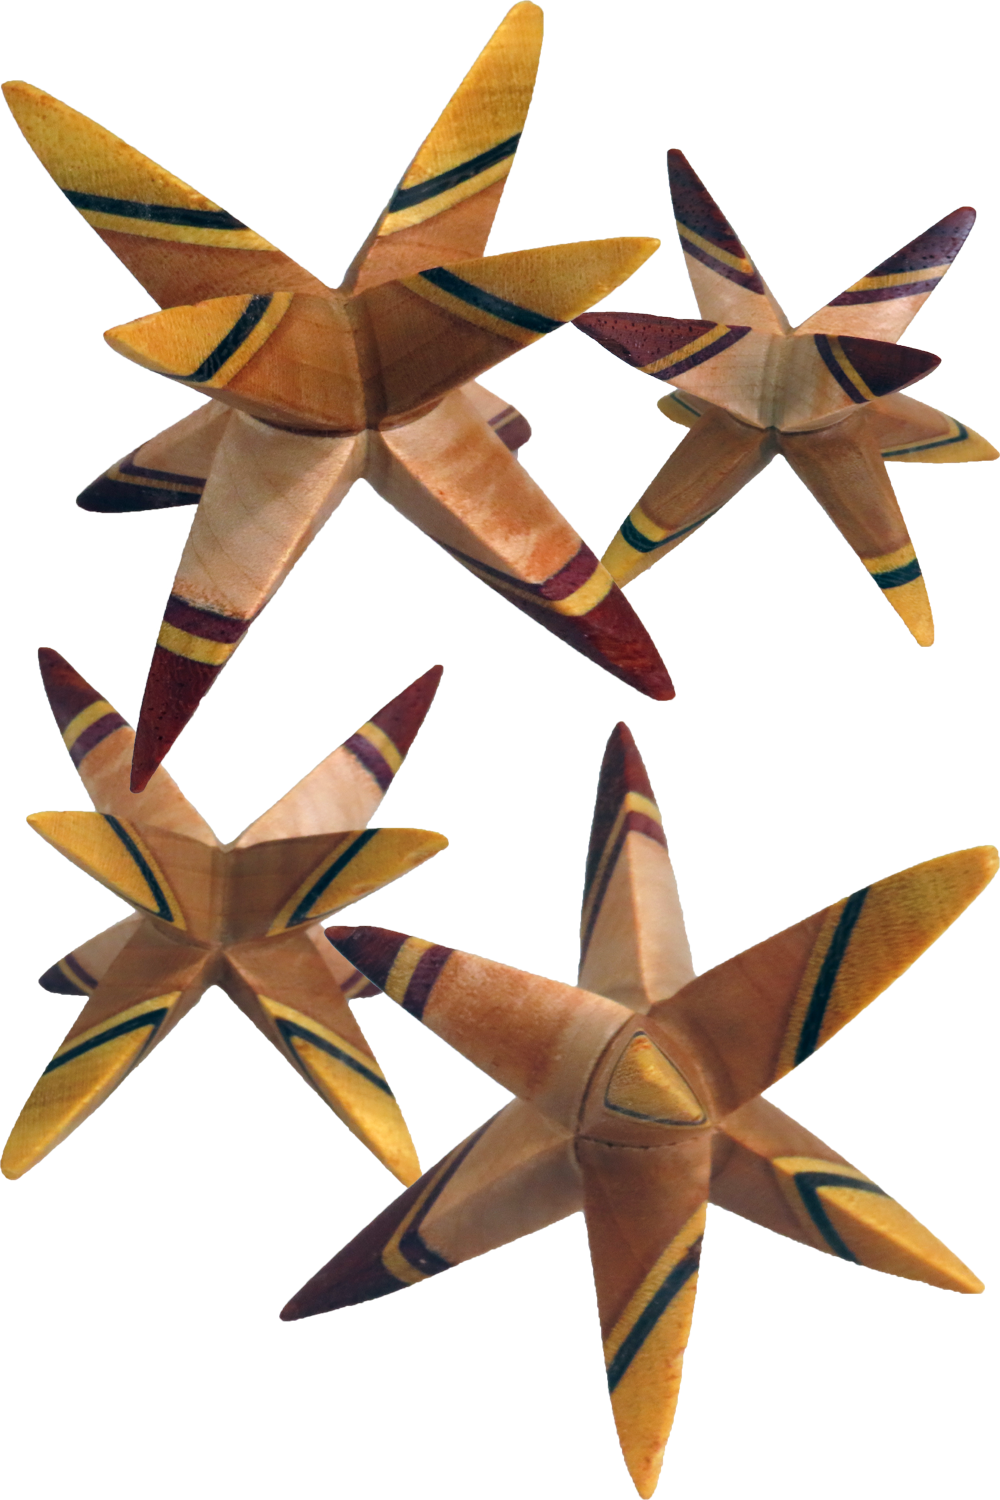
My star begins with a 2x2x2 cube. Theo started with a 60 mm cube. The wood should be hard and sturdy. If prone to chipping, use a different wood. My star is finished with wipe-on poly. The woods are maple, cherry, wenge, paduak, and yellowheart.
My fixture and gauge is posted to Printables.com https://www.printables.com/model/620500-jig-for-woodturned-star
Enjoy.
I am fascinated by this project. A friend printed the fixtures and gauge for me. So far I have made one to the beginning of the second axis and then one to the third axis. I believe that part of my problem is being overly aggressive on the initial cuts. I can correct that.
I am using solid white ash 2″ cubes. Could you advise what grain orientation I should use for first axis progressing through the third axis for best results? Would a segmented block be more advisable for my first few stars?
I am determined to get the hang of this in time for Christmas tree ornaments.
Grain orientation is most important for the 3rd stage. Here you want the least possibility of chipping. So orient #1 & #2 to allow this orientation.
Ash has somewhat open grain. I wonder how you are doing with the chipping.
Yes, do be very gentle until you get experience.
I used a laminated block for the video: a couple of the woods were more prone to chipping. (BTW I distinguish between lamination and segmentation)
I am pondering a lamination with a central piece and two contrasting woods on both sides. This may allow the ray tips to be different than the body.
Good Turning
Alan
Alan, I’ve been a subscriber from your beginning and I have to say, you’ve come a long way from the beginning. This star and the way you approached it is fantastic.
Best regards,
Richard
You are too nice. 🙂
Alan
Alan: I don’t seem to be finding, “printables”. I don’t have a 3D printer but I’m wondering if I can find the file if there might be some commercial 3D printer in town that can make the jig and gauge for the star you demonstrated. Can you tell me how to find that file.
Great Demo, I would not have guessed that you would have made it that way you did. Thank you.
Charles Kuether
https://www.printables.com/model/620500-jig-for-woodturned-star
I’ve updated the description.
Thanks for letting me know.
Alan
Thank you !!!!