Woodturning Wet Bark Or Natural Edge Bowl
If you happen to have technical difficulties, this video is also posted on YouTube and FaceBook. But it is best right here.
After a great club demonstration on smaller bark edge bowl, I won a piece of the presenter’s spare wood. BTW, most natural edge bowls start out intending to be bark edge bowls. The difference is whether the bark survives the turning process.
This bowl will follow the same process as the demonstration – meaning that the bark will be on the top side of the bowl. Since the top edge is also the outer curve of the tree, the end grain ends will be higher than the side grain sides.
The process this time:
- Seat a two prong drive center
- Adjust the live center to make the top side parallel with the headstock. This will more likely yield a bowl whose end grain heights are equal.
- Round off the sides first. This was a choice to give another opportunity to balance the bowl before loosing too much wood at the bottom.
- Trim the bottom and form a double tenon. The first tenon will hold the bowl when reversed. The second tenon is larger to provide visual guidance later when hollowing.
- Apply thin CA glue to the cambium layer. But, first, I sealed the bowl edge with shellac to prevent the CA glue from staining the wood.
- Reverse the bowl using the tenon.
- Start the hollowing process until the hollowing is about an inch lower than the side grain sides.
- Apply thin CA glue to the cambium layer. Again, after sealing the bowl edge with shellac.
- Continue the hollowing. I had problems that are described in the video.
- Because the wet bowl will most certainly warp, sanding would be difficult. Instead, I went ahead and removed the mounting tenon.
- For sanding, the sanding pad was mounted to the lathe with the bowl being hand held.
- The bowl is finished with walnut oil.
Post Script. The bowl has continued to shrink in the few days since I made this video. There is now a gap between the bark and the solid wood edge making the bark likely to break away. I will attempt to add UV resin at the cambium layer to reattach the bark to the wood. Epoxy resin is also an option. However, with UV resin, I can apply small dots of resin and flash it with UV to hold it manually until I can apply more UV resin. This process will likely require sanding at least the exterior of the bowl again but that is the same as shown in the video.
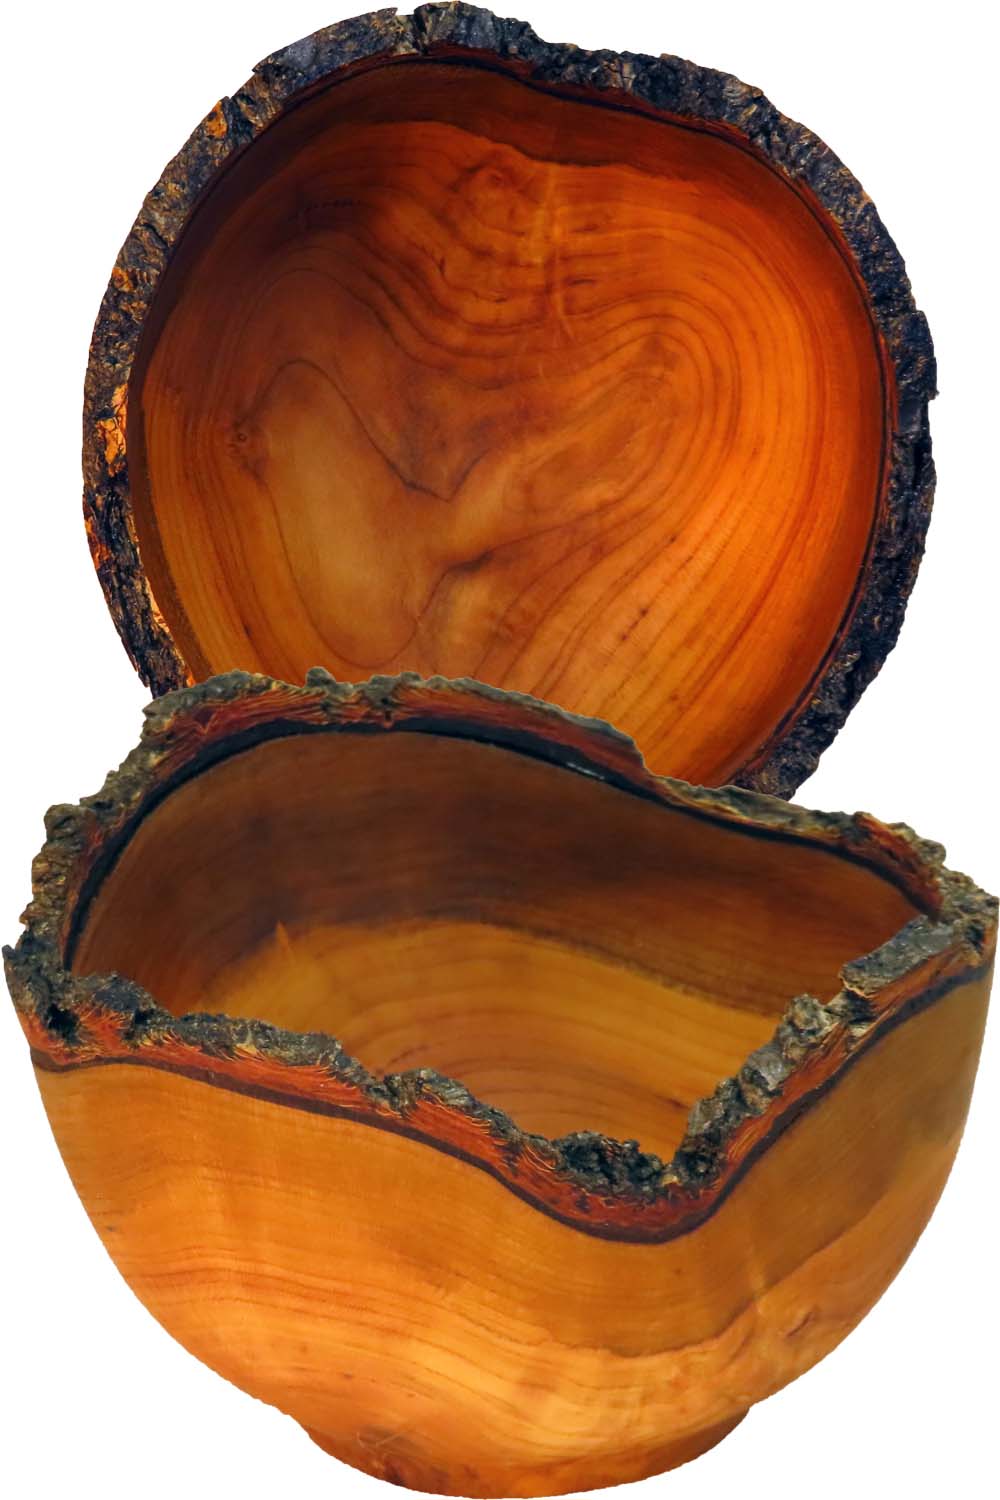
This bowl is six inches diameter and about four inches high, finished with walnut oil.
Enjoy.
p.s. Would you like a more in depth demonstration? Please contact me for an IRD (Zoom Demo) on this or other topics.
Would a floppy type sanding rig work?
Love the videos and your style of teaching.
Thanks for sharing.
Can you elaborate to help me understand what you mean.
Alan