Woodturning A Snowman WIth Cultural Diversity
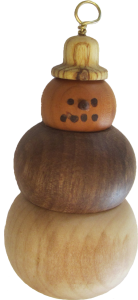 We’re celebrating Christmas with a Christmas Ornament Woodturning Challenge. This is my next entry for this year.
This snowman is demonstrating “Cultural Diversity” by including four different domestic hardwoods:
- Maple – Bottom snowball
- Walnut – Middle snowball, nose, & coals for mouth and eyes
- Cherry – Head snowball
- Laburnum – Hat
He is finished with mineral oil and beeswax and weighs in at 1.75 ounces. As an extra bonus he rattles when shaken.
Merry Christmas.
View the complete challenge playlist here.
Woodturning A Segmented Christmas Bell Ornament
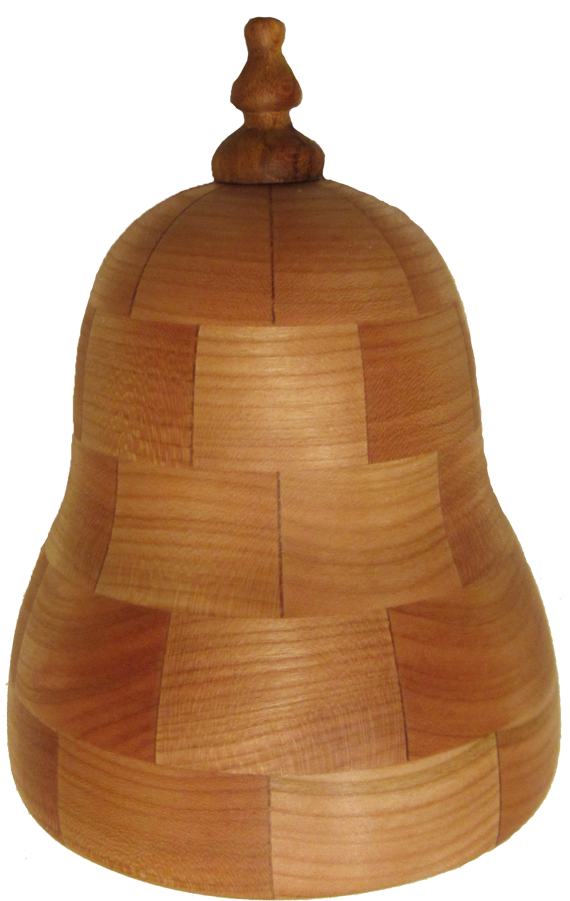 Here’s my next entry to the annual Christmas Ornament Challenge that Carl Jacobson and I are sponsoring.
This is a segmented Christmas Bell to sound off at the birth of the baby Jesus. Its body is made of apricot with 5 rings of 8 segments each for 40 total segments. In addition, it has a handle and a knocker made from laburnum or golden Chain. It is finished with walnut oil.
Simple Challenge Rules:
- Make an Christmas ornament.
Project of your choice in the spirit of Christmas - Make a video of you making the ornament.
A good learning experience - Upload the video to YouTube
A piece of cake. - Let me know the link to add your video to the playlist.
Another piece of cake. - Enjoy your ornament consistent with the season.
After all that cake, why not.
Woodturning A Christmas Ornament With Finials
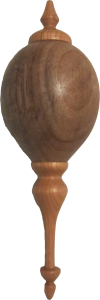 It’s time for the annual Christmas Ornament Challenge.
Carl Jacobson and I are sponsoring this challenge.
Rules:
- Make an Christmas ornament.
- Make a video of you making the ornament.
- Upload the video to YouTube
- Let me know the link to add your video to the playlist.
- Enjoy your ornament consistent with the season.
This ornament is walnut with cherry finials, all finished with friction polish.
It is hollow to make it light enough to hang on a tree.
A Stack of Special Donuts For All The Big Ballgames
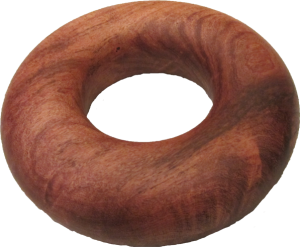 Phillip from San Antonio sent me a chunk of mesquite. I’ve puzzled over what to make of it.
Then I realized that it is playoff and bowl game season. I need refreshments for all the big games. How about a donut.
This donut is hollow to reduce its calorie content. I don’t want my friends to have to go on a diet to lose weight. Yet, they need to enjoy my delicious donut.
The only thing I can’t figure out is how to add tasty frosting and sprinkles.
A Butternut Squash Recipe With A Special “Turn”
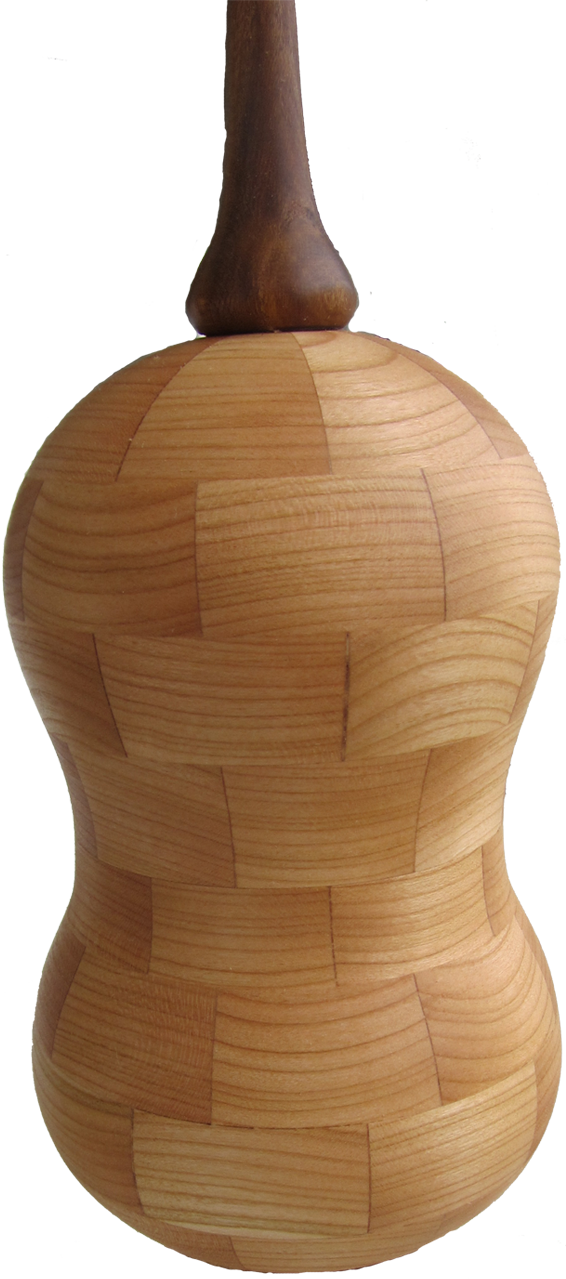 I have a very different recipe for butternut squash.
- Select a favorite wood in dimensional lumber form. (I used cherry)
- Decide the maximum diameter for your squash. (Mine is 4 inches)
- Calculate a segment length as Length = Diameter x pi / segments. (4 x 3.14159 / 8 = 1.57)
- Saw segments to length determined in step 3 with 22.5 degree angles. These will be trapezoids. The long side is the length you calculated.
- Glue pairs of segments together; clamp for 5-10 minutes and let cure for at least 1 hour.
- Glue these pairs into half rings using an band clamp. Insert small dowels between the halves before tightening the clamp. Let cure.
- Sand the side of each half ring until each half fits nicely against each other forming a full ring.
- Glue these half rings into full rings with the band clamp.
- Sand at least one face flat and smooth.
- Take 2 threaded wood faceplates made from your favorite cheap wood. Using hot melt glue center then glue one full ring on each.
- If desired, plug any center hole in the first layer.
- On the lathe, face off the first ring so the two faces are parallel and smooth. Lightly sand as necessary.
- Center and glue with wood glue the next ring.
- Repeat steps 12 and 13 for each ring on each faceplate until as tall as desired for your squash.
- Mount one glued stack on the lathe. This will be your top.
- Roughly shape exterior to taste.
- Cut a mortise with parallel sides from 1/2 to 3/4 inches deep inside the top portion.
- Hollow, sand, and finish the interior.
- Mount the other glued stack. This will be your bottom.
- Roughly shape exterior to taste.
- Cut a tenon that matches the mortise you cut on the top. Use extra care to acheive the taste(fit) you desire.
- Remove the faceplate from the top stack and mount this stack on the bottom stack.
- Bring up the tailstock and shape the exterior to taste, making sure you don’t break into the interior.
- Sand and finish the top exterior. Remove the top from the lathe.
- Hollow, sand, and finish the bottom interior.
- Reverse mount the bottom. I prefer a jam chuck. Strawberry is my favorite flavor of jam.
- Finish shaping, sand, and finish the exterior.
- Decorate the top with a stem of your choosing.
- Fill with chocolate candies and enjoy whenever the craving hits you.
A food safe finish is required.
Sharpening On The Road – Portability Revisited
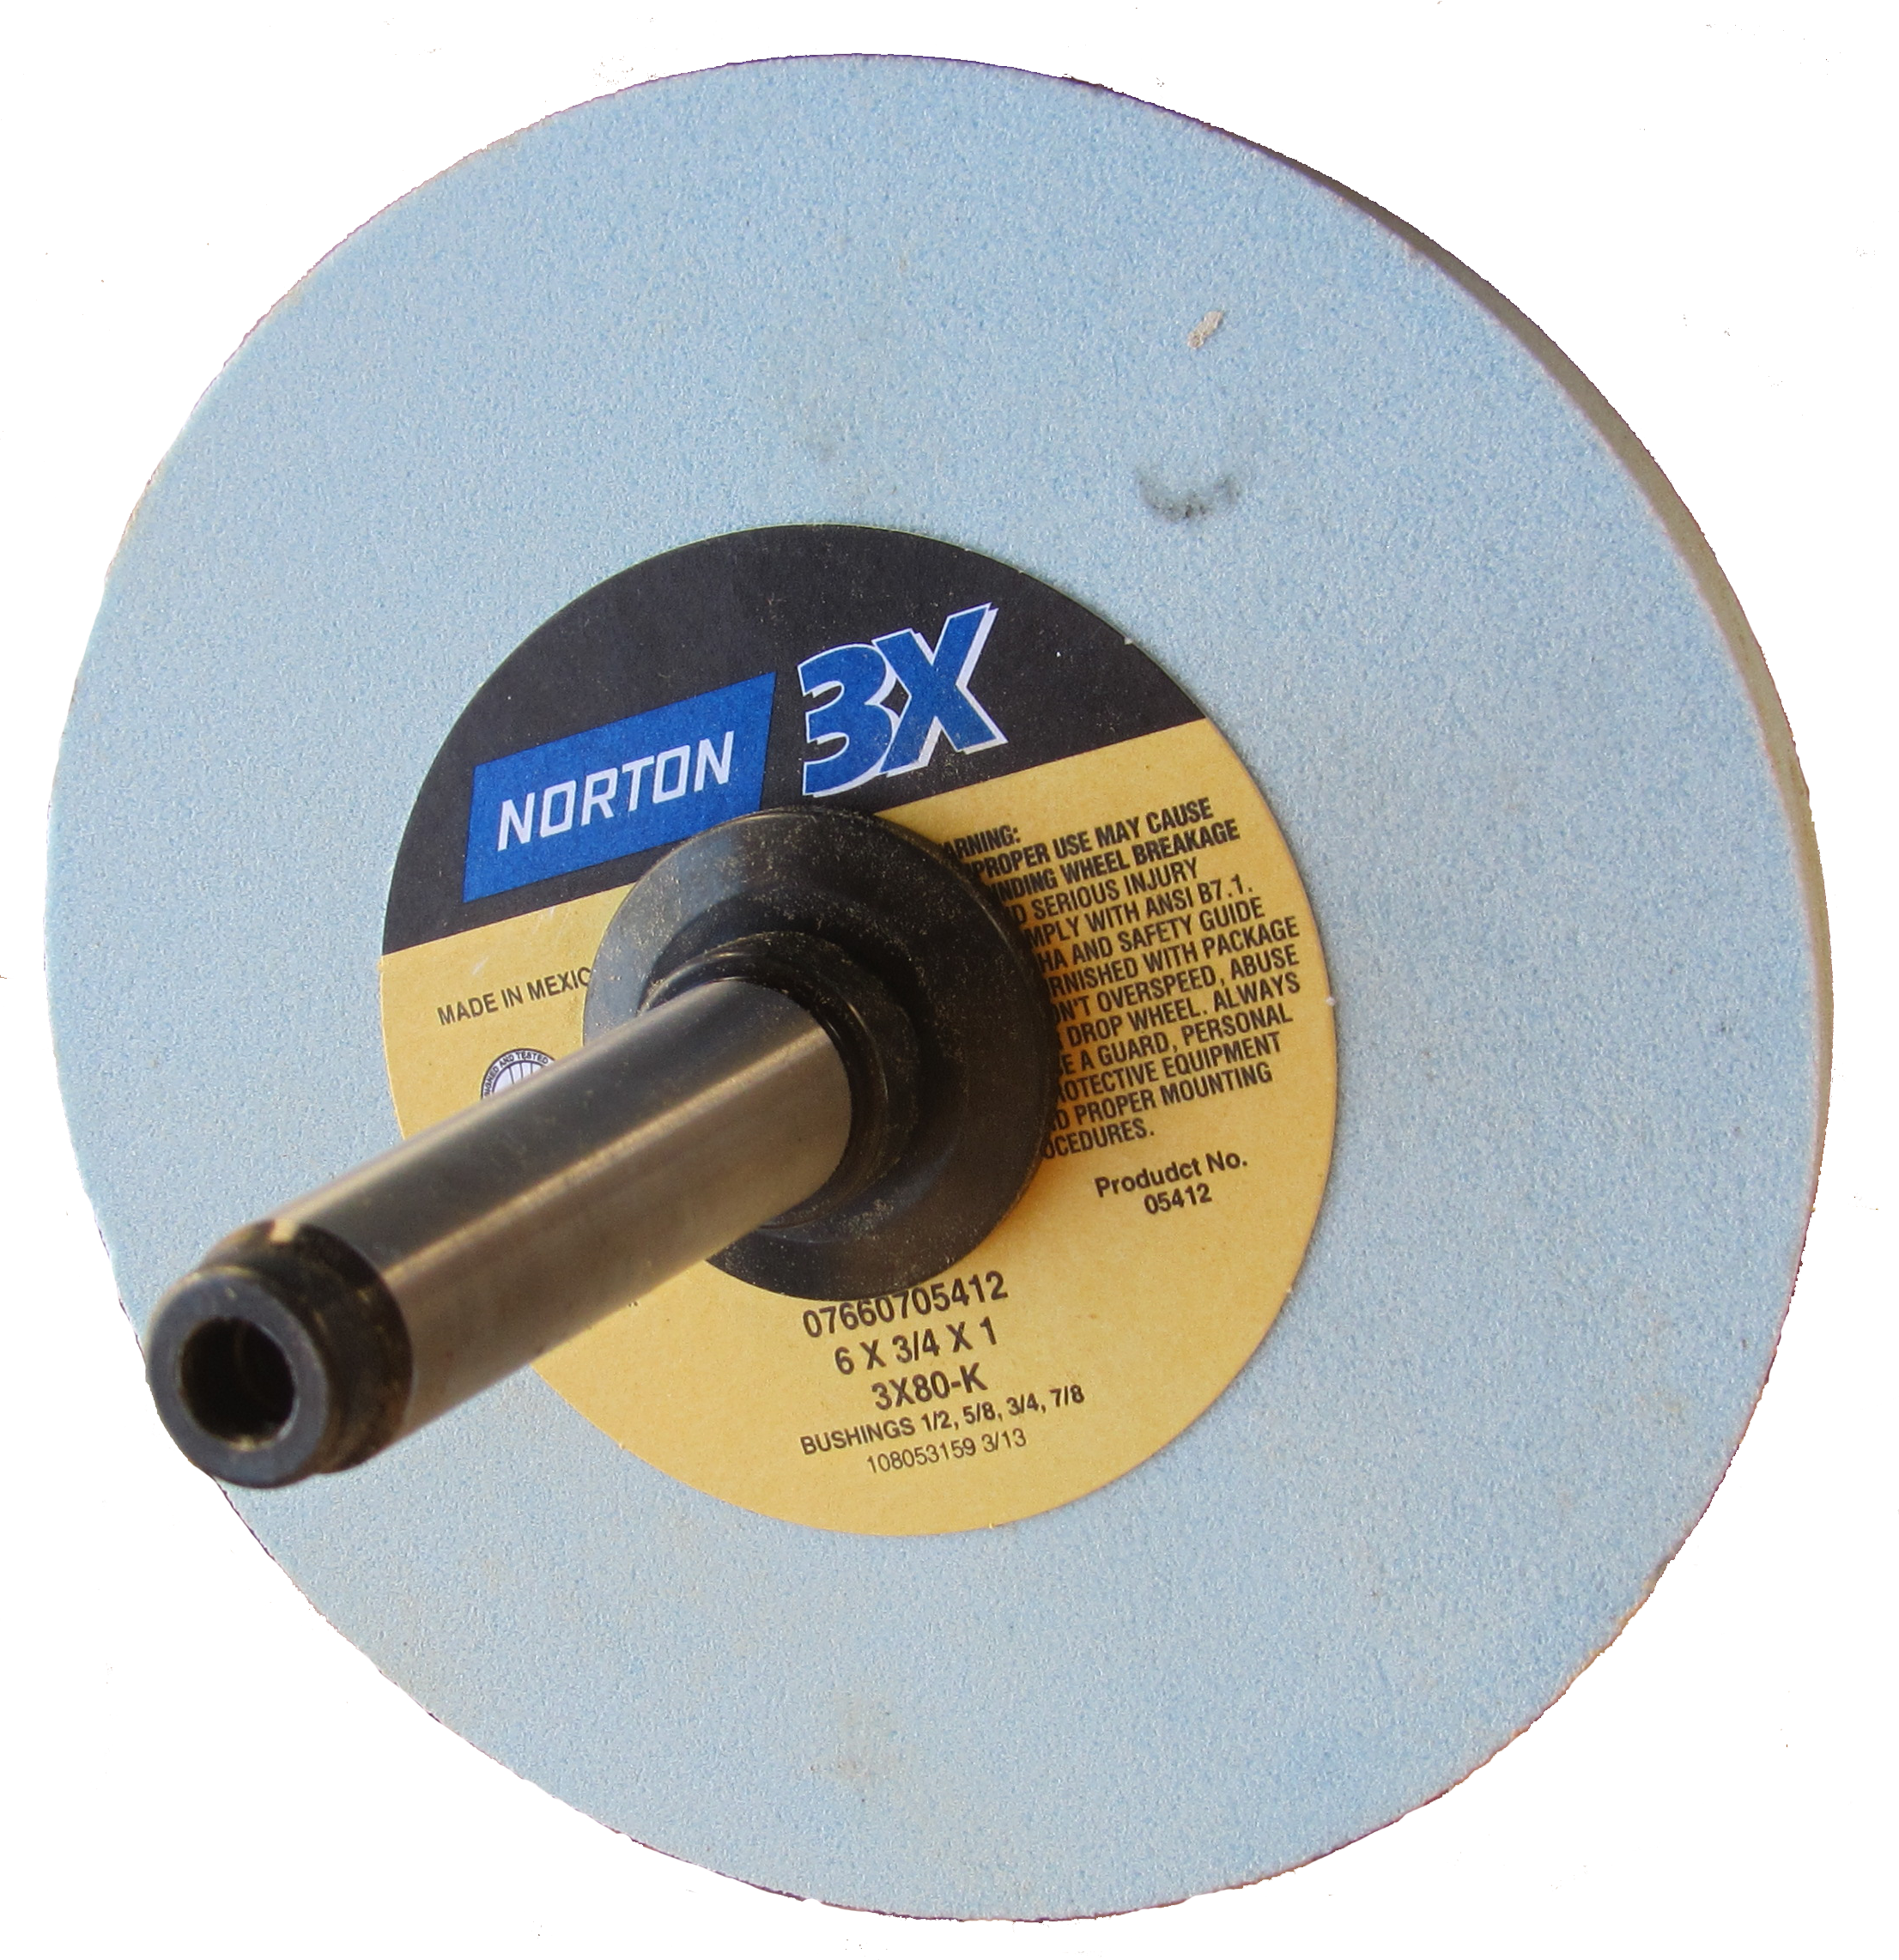 This is a followup to my previous video concerning sharpening tools while away from home base. With that video, I was not happy with that solution due to significant runout of my home built mandrel. I ask for suggestions and received a lot.
This video covers the two main categories of suggestions and my current “Plan C” solution. Actually, “Plan C” is two different alternatives so I can pick and choose whichever will work best for the tool at hand.
Plus, several suggestions centered on honing my tools. So as a bonus, I made a faceplate for honing also.
- Grinding Wheel – Norton 3X 6″ Ceramic Alumina High Performance – www.woodturnerscatalog.com
- Mandrel – Lathe Arbor, #2MT – www.highlandwoodworking.com/
- Grinding Wheel Dresser – Wood River Diamond Grinding Wheel Dresser – www.woodcraft.com
- Honing Compound – Green Chrome Oxide Compound – www.woodcraft.com
- Spindle Taps – Beall spindle taps – www.woodturnerscatalog.com & others
- Sandpaper – 10″ – www.woodcraft.com
- MDF – Medium Density Fiberboard – Local hardware store
A Cute Little Natural Edge Bowl From Wet Limb Wood
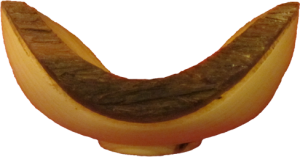 Carpe Diem. Just after watching a woodturning demo turning a small natural edge bowl from a limb, I happened to need to cut a limb from a juniper tree.
Ordinarily, I would have thrown away the wood. But this time, why not turn a bowl similar to what I had just seen demoed? That is exactly what I did.
This is a small bowl turned from a limb from a juniper tree. It is sanded to 400 grit and finished with walnut oil.
A Halloween Witch’s Broom
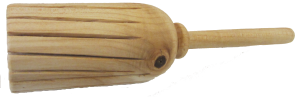 To complete a Halloween witch’s accessories, a witch needs a high class broom.
For the discriminating witch, we have a brand new broom turned by hand from locally harvested maple, finished with fine grit sandpaper (80 grit is a witch’s favorite) and a touch of fine beeswax and eye of newt.
An Eccentric Scary Halloween Spider
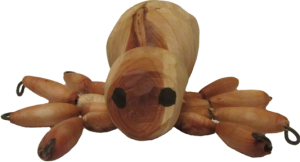 I had a big problem coming up with a Halloween project. My wife came to my rescue suggesting a spider.
This spider is an eccentric turning. Offsetting the tail end by nearly a half an inch flattened my pet spider’s bottom side so he will not sit high off the ground.
I left him unsanded and unfinished wet juniper, appropriate for a rough, scary creature.
Sharpening On The Road – Portable Tool Sharpening Station
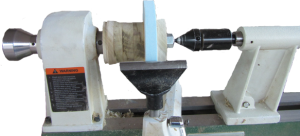
When I use my portable mini lathe “On Location” I sharpen my lathe tools before I leave. The problem is that all these tools get dull as I use them. My grinder is nice but not portable.
So what can I do? Keep using dull tools? Use my diamond hone more? Try some way to use a flat wetstone.
While at a workshop, I brainstormed this problem with Kirk DeHeer.
Plan A was to mount a 6 inch grinding wheel (80 grit) on a 5/8″ bolt that is mounted to a four jaw chuck. This worked except that there was a lot of runout.
Plan B was to mount the grinding wheel with the bolt to a wooden faceplate. A hole was bored to the size of the bolt. The bolt then is epoxied into the hole. There is still a little runout but usable at slow speed.
So I’m searching for a Plan C to eliminate the run out.
What is your idea?