Acrylic Pour Paint For Christmas Ornament Woodturning
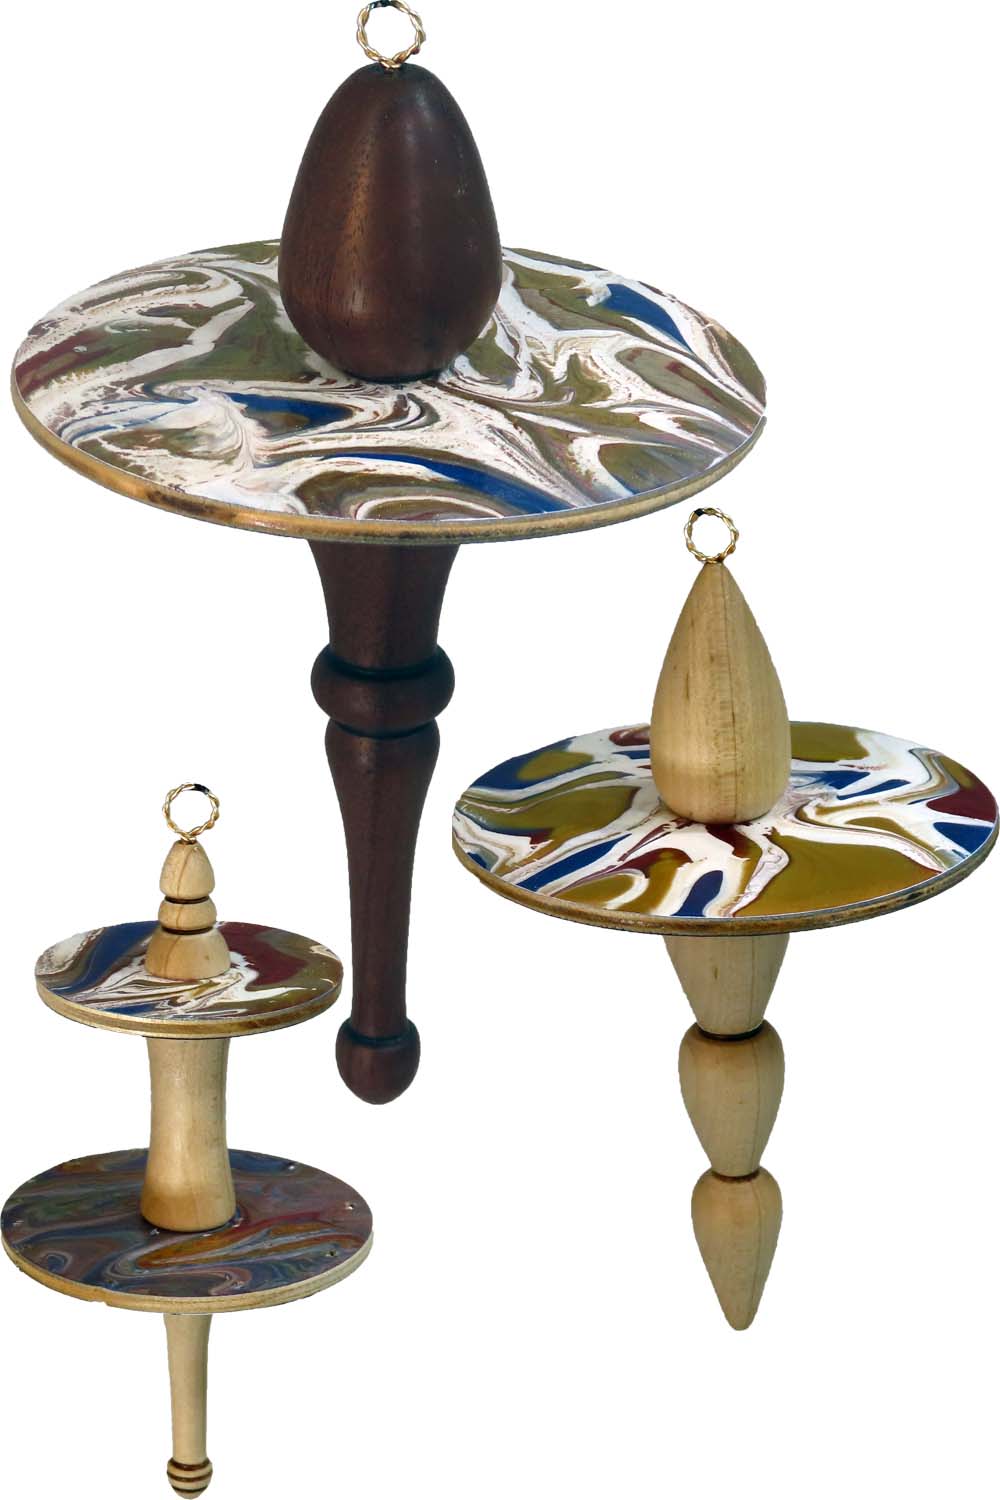
I am trying something different for these ornaments substituting a painted disk for the body of the ornament. Then add top and bottom finials as usual.
The big difference is the disk is painted with two acrylic pour paint techniques. On one side is a “dirty pour” where different colors of paint are layered into a cup and then gradually poured onto the disk. This creates streaks and puddles of colors. Then the disk is tilted to enable the paint to flow out and over the edge but, more importantly, to stretch the puddles and bands of color into interesting patterns.
After drying, the opposite side of the disk is a direct pour with a puddle. First, white paint was spread over the disk as a puddle. Then different colors of paint were directly poured into the puddle in random, small squirts. After the paint is applied, the disk is tilted to enable the paint to run into interesting patterns similar to the opposite side.
After drying, On to adding finials.
The disks are 3 mm Baltic birch, cut out on my LED laser. Finials are maple and walnut.
I love them.
Enjoy.
p.s. Would you like a more in depth demonstration? Please contact me for an IRD (Zoom Demo) on this or other topics.
If you happen to have technical difficulties, this video is also posted on YouTube (link). But it is best right here. So stick around.