How To Turn A Double Eccentric Magic Wand
In this video, I’m going another step beyond in eccentric turning. Building on a viewer suggestion to use masking tape to enable power transmission while backing off the pressure between tailstock and headstock.

I made a pair of threaded faceplates in which I drilled holes to provide regular offsets. Corresponding holes would then be drilled into the workpiece. Brass rods, inserted between the workpiece and the faceplate would offset and drive the spindle.
It worked! A double (offset both ends) magic wand. Double the eccentricity, double the magic, and double the power.
This full sized 15″ long wand is made from walnut and red oak. It is finished with mineral oil and beeswax.
How To Turn An Eccentric (Crooked) Magic Wand

After the last video, I decided to go one step further and make an eccentric blade for another wand. By using multiple axes, the blade will be crooked, a special twist to please any wizard.
This full sized 17″ long wand is made from walnut and red oak. It is finished with mineral oil and beeswax. A chamber in the handle can hold a magical phoenix feather.
This blade is more difficult than the last wand. Between the thin blade flexing and the off axis turning, there’s a lot of chatter that also complicates this turning.
I’ll list any woodturning curses that viewers suggest.
How To Turn A Magic Wand With Secret Feather
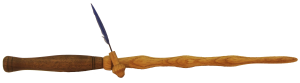
Harry Potter needs a new magic wand to withstand “he who must not be named“.
This magic wand has the key to powerful magic – a Phoenix feather inside the handle.
This full sized 17” long wand is made from walnut and red oak. It is finished with mineral oil and beeswax.
It is a quick and fun project sure to please any new student at Hogwarts.
Woodturning A Tune-able Train Whistle
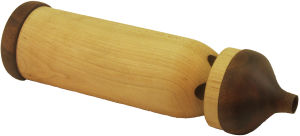
After the Cascade Woodturners club asked me to do a demo, I needed to make a practice run. After the last whistle, a viewer suggesting making the whistle in a way that it could be tuned instead of relying solely on the depth of holes drilled in the cylinder.
This whistle is tuned by inserting a dowel in a chamber in the opposite end of the whistle. Move the dowel in and out until the target pitch is achieved. Then glue it to lock it in place. OR, for the tone deaf, just glue in different lengths of dowel.
For this whistle, the air chambers are drilled completely thru the main body cylinder. Drilling these deep holes is quite a chore.
5/8″ down from the end, the inner air chambers are exposed and slightly flattened dowels inserted above the gap with the flat to the outside.
On the other end, I inserted dowels to tune the whistle. After cutting the dowels to an appropriate length, they are glued in place.
A mouth piece provides a convenient way to blow the whistle with a small inner chamber allowing air to each whistle chamber.
An end cap on the other end, hides the dowels and completes the project.
The whistle body is maple (6 inches); the end caps are walnut. Both are finished with a beeswax and mineral oil mix. The overall length is about 8 inches and 2 inches in diameter.
Turn A Large Hollow Wood Sphere Or Ball With No Fear
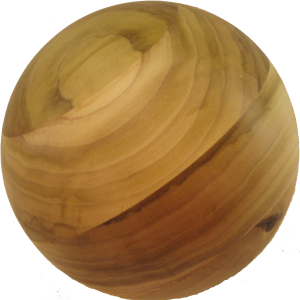 To dispel my ball turning phobia forever, I decided to do a large, hollow ball.
What’s different?
Well, on a large ball, any irregular surface is more apparent.
Even more is that I’m having to turn blind. I cannot check wall thickness as I work the wood — I have to rely on measurement taken before gluing the two halves together. Then be sure not to cut through into the interior. In contrast, I could keep turning a solid ball smaller and smaller until I get a smooth result.
This ball is turned from dry poplar laminated from 2 inch blanks. The ball is about six inches in diameter and finished with beeswax and mineral oil.
Risky Turning – Deceptive Off Center Duck
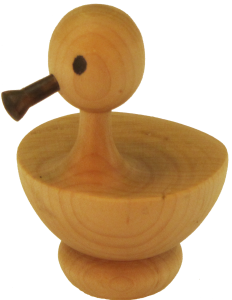 I am interested in multi-axis and off center turning. However, any change to the turning axis presents challenges and risks.
This project, from hard maple, follows an example in “Woodturning Methods” by Mike Darlow.
On the first axis, I turned the body, foot, and a mounting disk. Then I mounted a wood faceplate with a 2″ hole offset from the center by a little less than 2/3 of an inch. I drove screws into the mounting disk inside the radius of the duck’s foot.
Then on the second axis, I turn the duck’s head and neck.
The greatest challenge is the transition between the duck’s neck and body. The biggest risk is while doing the head and neck — the body is flipping around the axis — a risk to hands and tool positioning.
My little ducky is yet unnamed. Your suggestions will be appreciated.
Simple Wood Faceplates For Perfect Balls Or Spheres
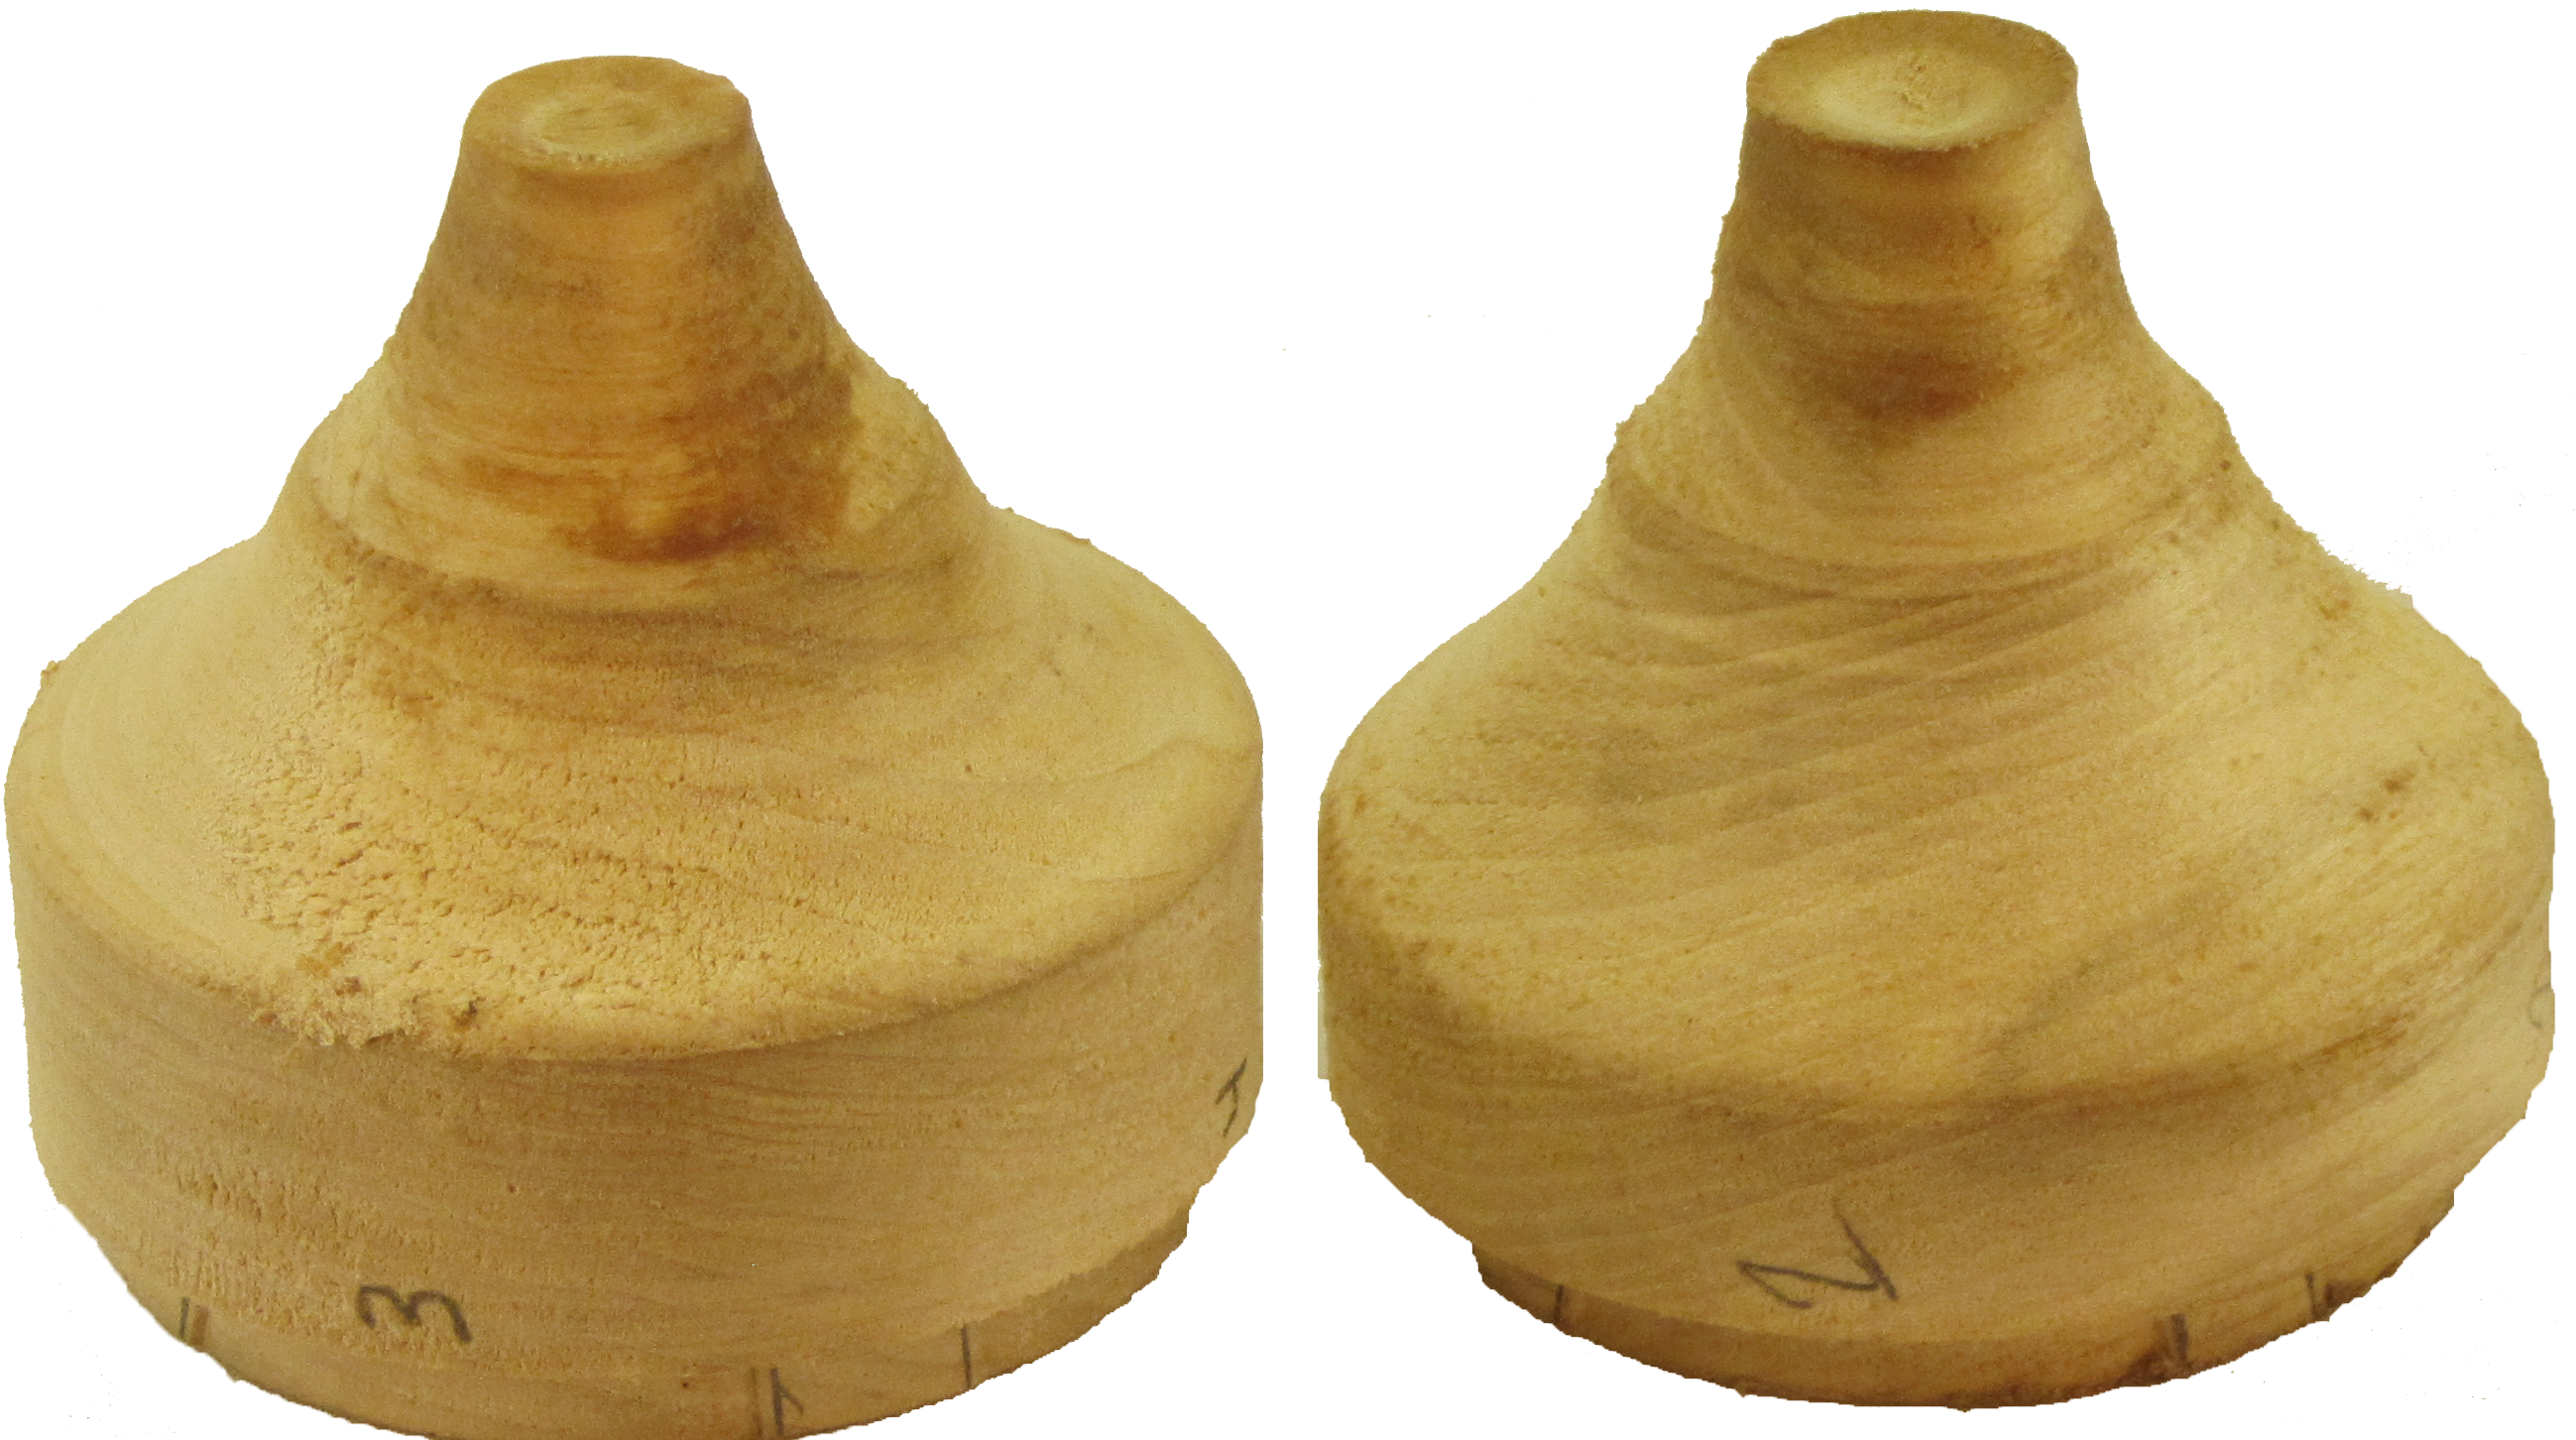 In my last video I turned a couple of wood balls to overcome a long running phobia – a concern that I could ever turn a perfect wood sphere. But I did it.
One requirement was to have a process that I described in that video. However, part of the process required a set of wood faceplates. In this video, I show making one of these simple faceplates that are threaded to fit the tailstock live center and have a tenon with which to mount it to the headstock spindle. Either faceplate can go on either end of the lathe. This makes them interchangeable.
My faceplates are made from poplar and left unfinished.
These faceplates made ball turning simple.
The last video in this series will take the process to an extreme.
Pueblo Indian Wedding Vase
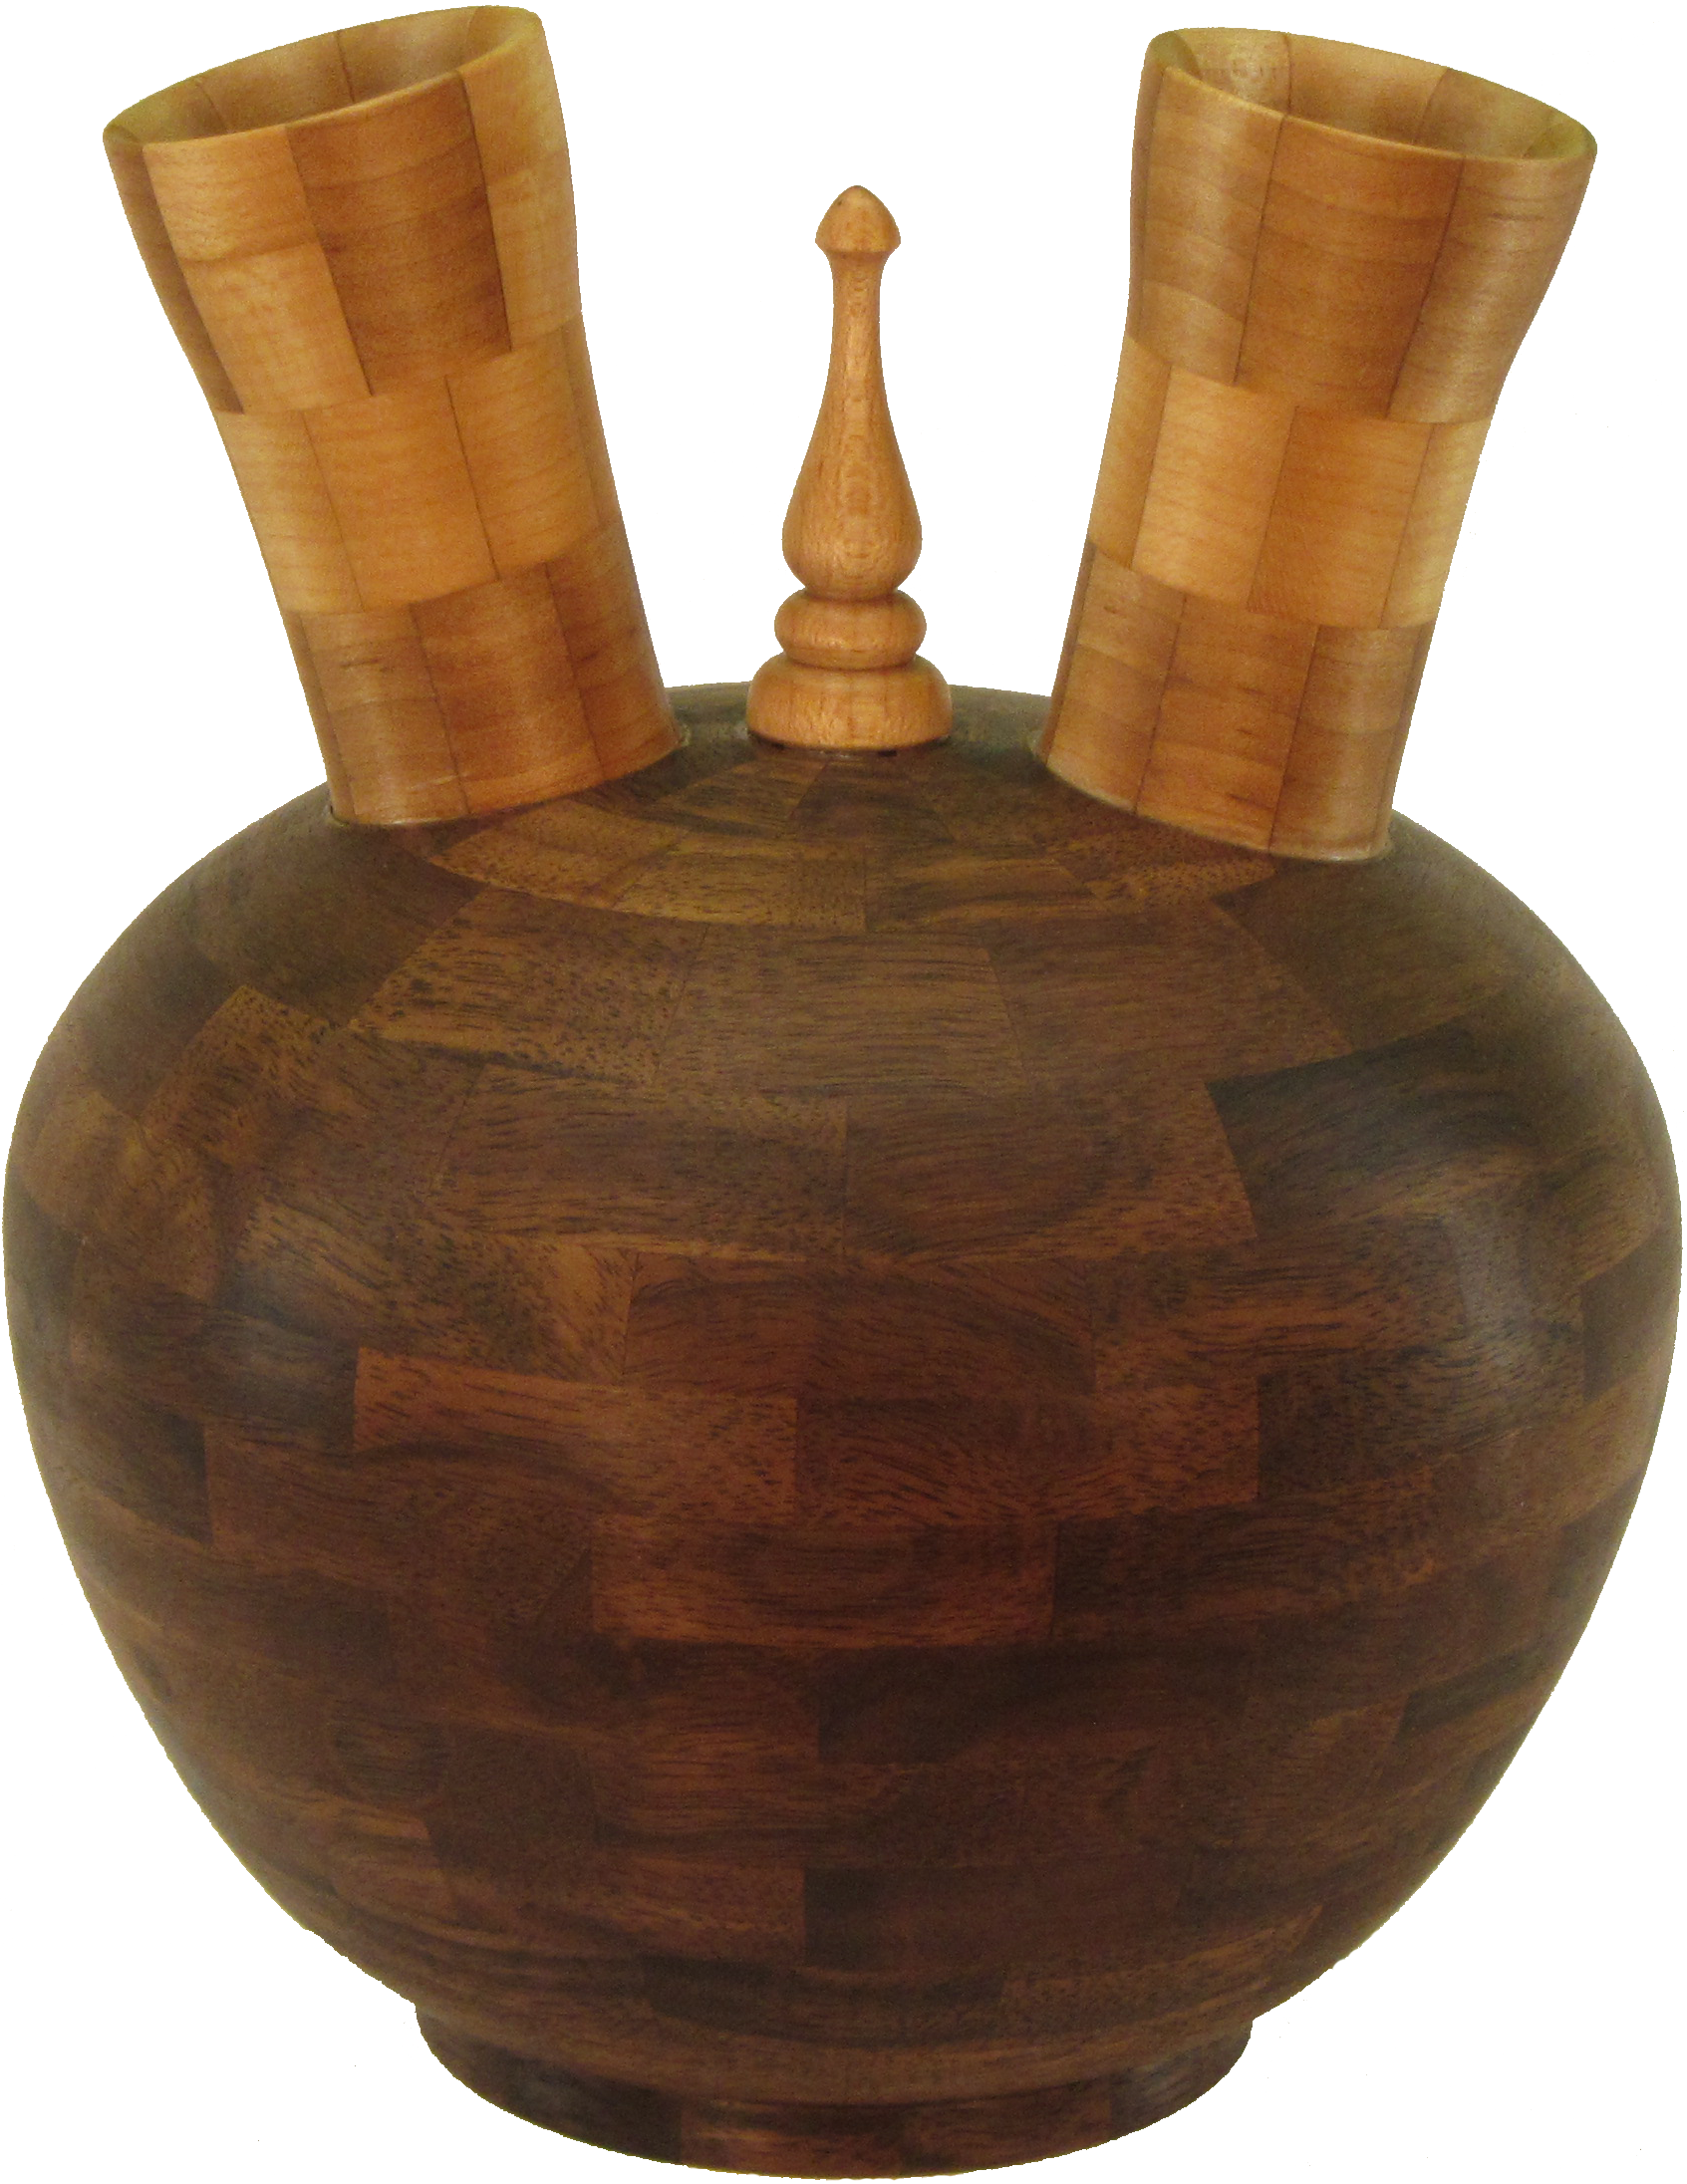 A gift for my parents 70th wedding anniversary. This vase is 6″ in diameter and ~7″ tall. The base is walnut; the spouts and finial are maple. It is finished with sanding sealer and walnut oil.
Sorry, no video on this one YET.
Turn A Perfect Wood Sphere Or Ball – No Expensive Jig
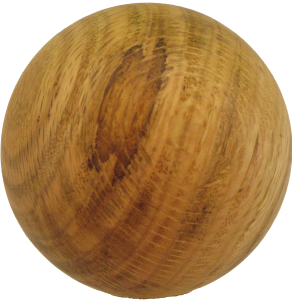
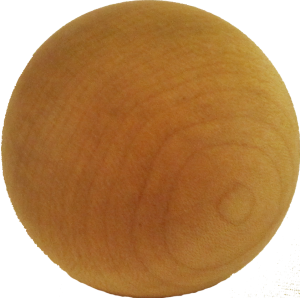
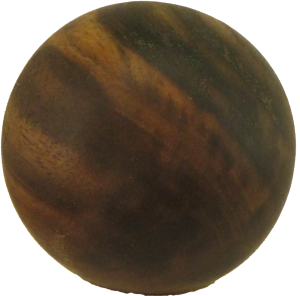
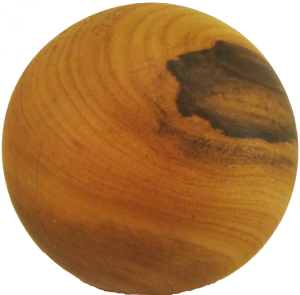
| One project during a week long woodturning class a few years ago was a wood ball using a jamb chuck. I failed miserably to get the ball smooth. It ended up very rough and out of round. With this failure, I feared being able to make a good ball.
Since then, I’ve looked for a jig or a process to turn a perfect ball or sphere. I doubted I could do it myself. I looked at commercial jigs – expensive and plans for DIY jigs – difficult to make and potentially inaccurate. More recently, I watch Dale Larson and Alan Lacer both turn perfect balls using only simple faceplates. Now I can do this. Here’s the process I used:
After a couple of balls, I could make another ball in very little time. Success – my ball turning phobia is gone. My next video will describe the faceplates for turning wood balls. Another video will take the process to a new extreme. |
    |
Clean Up Time For Your Lathe’s Morse Taper

On my lathe, I don’t think about cleaning the inside of the spindle or tail stock, but I should. Gunk can build up in the morse taper of these areas and throw off how well your drive and tail centers seat, center, and hold your work. The gunk can also cause damage to these tools.
But cleaning the morse taper is difficult. It’s a small area – I cannot use a steel brush as it will eventually damage the morse taper.
However, I saw a tip in American Woodturner that helps a lot — use a #20 shotgun cleaning brush. The brush ($2-$3) itself does not have a handle but I’m a woodturner, I can make one out of a pen blank. That is what I did.