Woodturning Acorn Box With Bayonet Joint
This post is best viewed right here. However, in case of difficulty, it is also posted on YouTube and FaceBook.
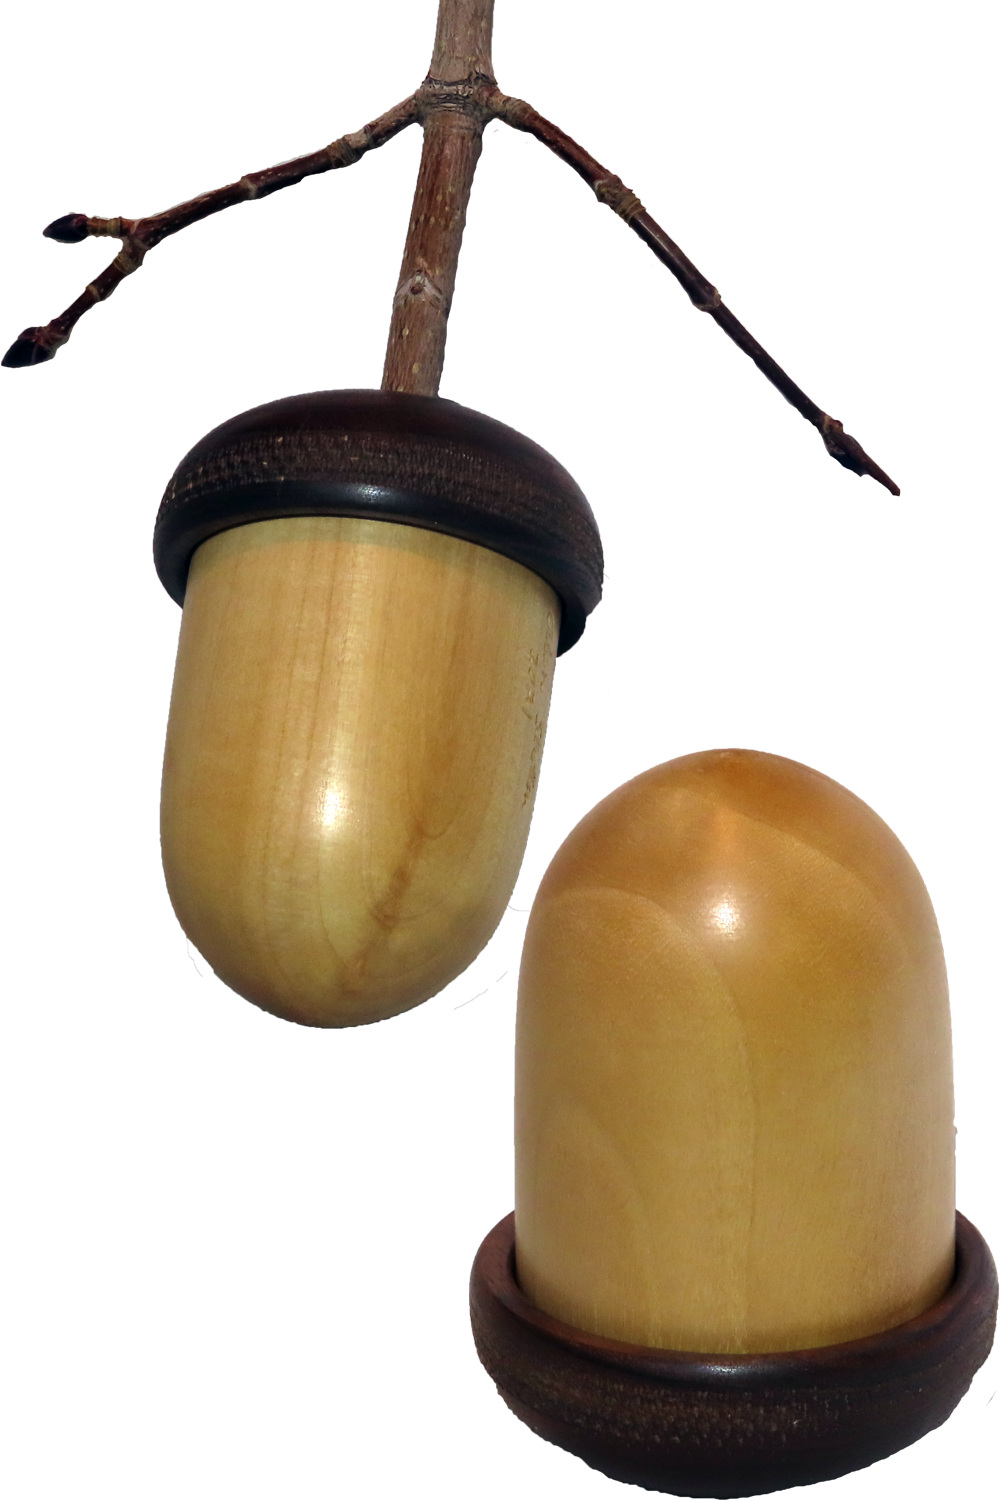
This is a fairly simple project but enhanced by using 3D printed bayonet bushings for the joint. Simpler would be to glue the two pieces of wood together.
The body is birch from a tree from my yard. The cap is walnut. They joint is wood infused PLA printed on my Prusa 3D printer. The finish is shellac.
Making the joint required Forstner bits and a little extra hollowing with a box scraper. A little bit of epoxy holds it in place.
Enjoy!
Woodturning Sleighbell Inspired By Ornament Challenge
This post is best viewed right here (above). In case of difficulty, this is also posted on YouTube and FaceBook.
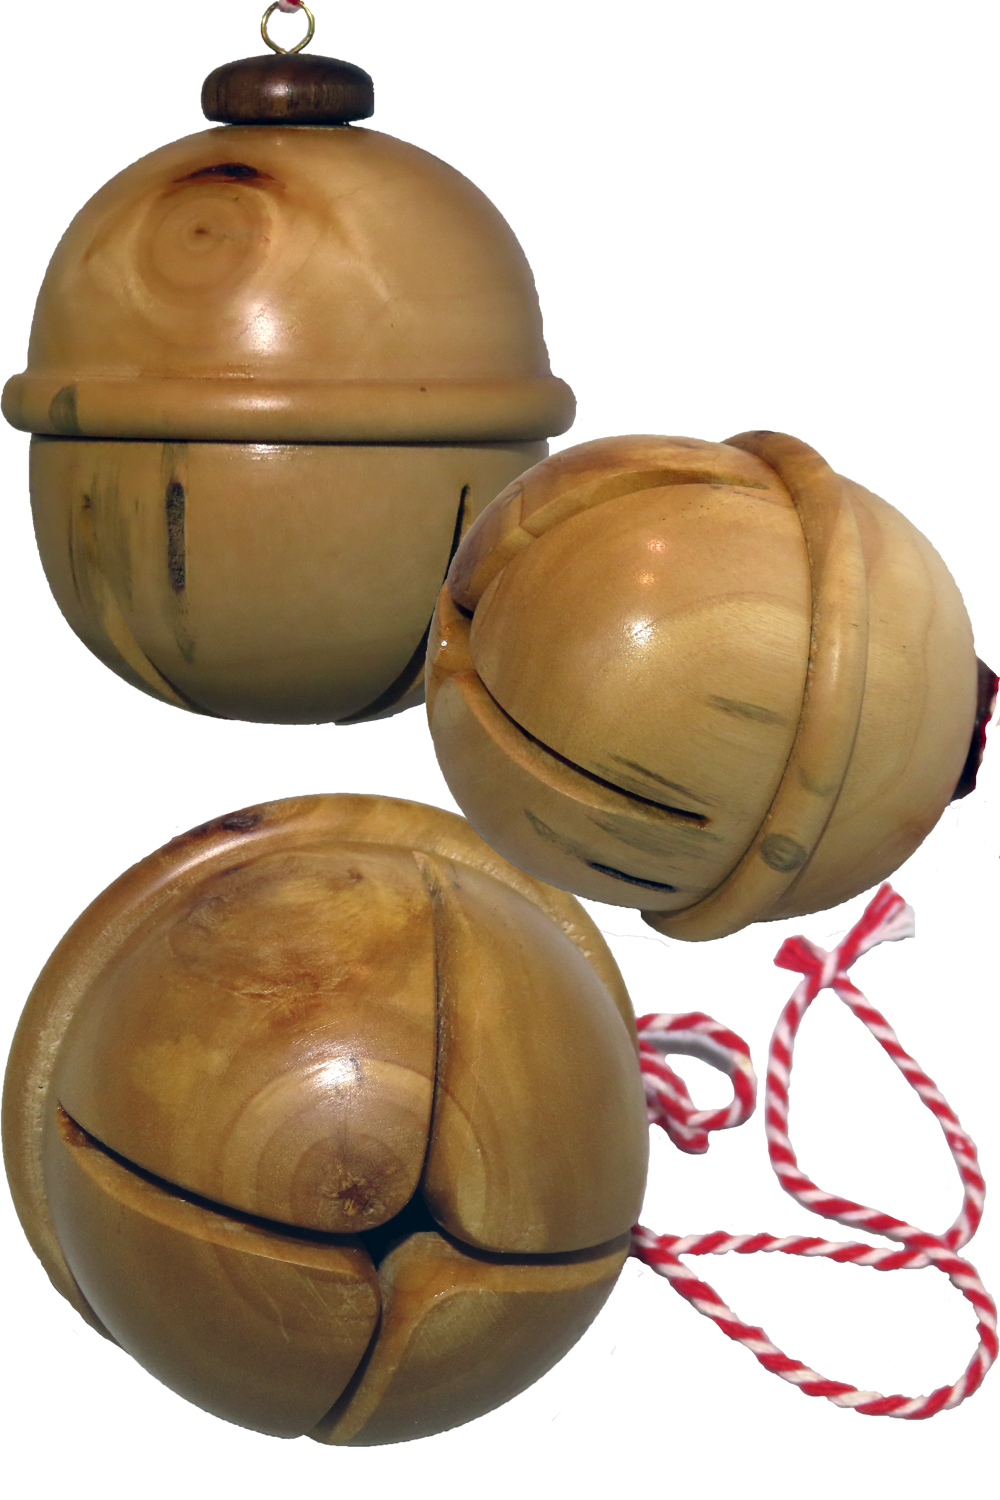
Taking inspiration from an ornament by Dennis in the 2021 Christmas Ornament Challenge, I tried to turn a similar ornament. I failed.
So, back to the computer to layout my plan and work out the details. Then off again to the lathe to turn it for real. The birch is from a dead tree in my front yard that I cut down a year ago.
I split it in half so I could hollow from both sides instead of through one small hole in the back.
I just had to remember to put a marble inside before gluing it all together.
Where does your inspiration come from?
Enjoy!
2021 Christmas Ornament Challenge – Winners & Wrapup
This post is best viewed immediately above this note. However, in case of difficulty, it is also posted on YouTube.
The votes are counted and the results are in from the 2021 Christmas Ornament Challenge.
With 207 ornaments, that is a lot. Thanks to everyone who contributed an ornament.
Top winners are:
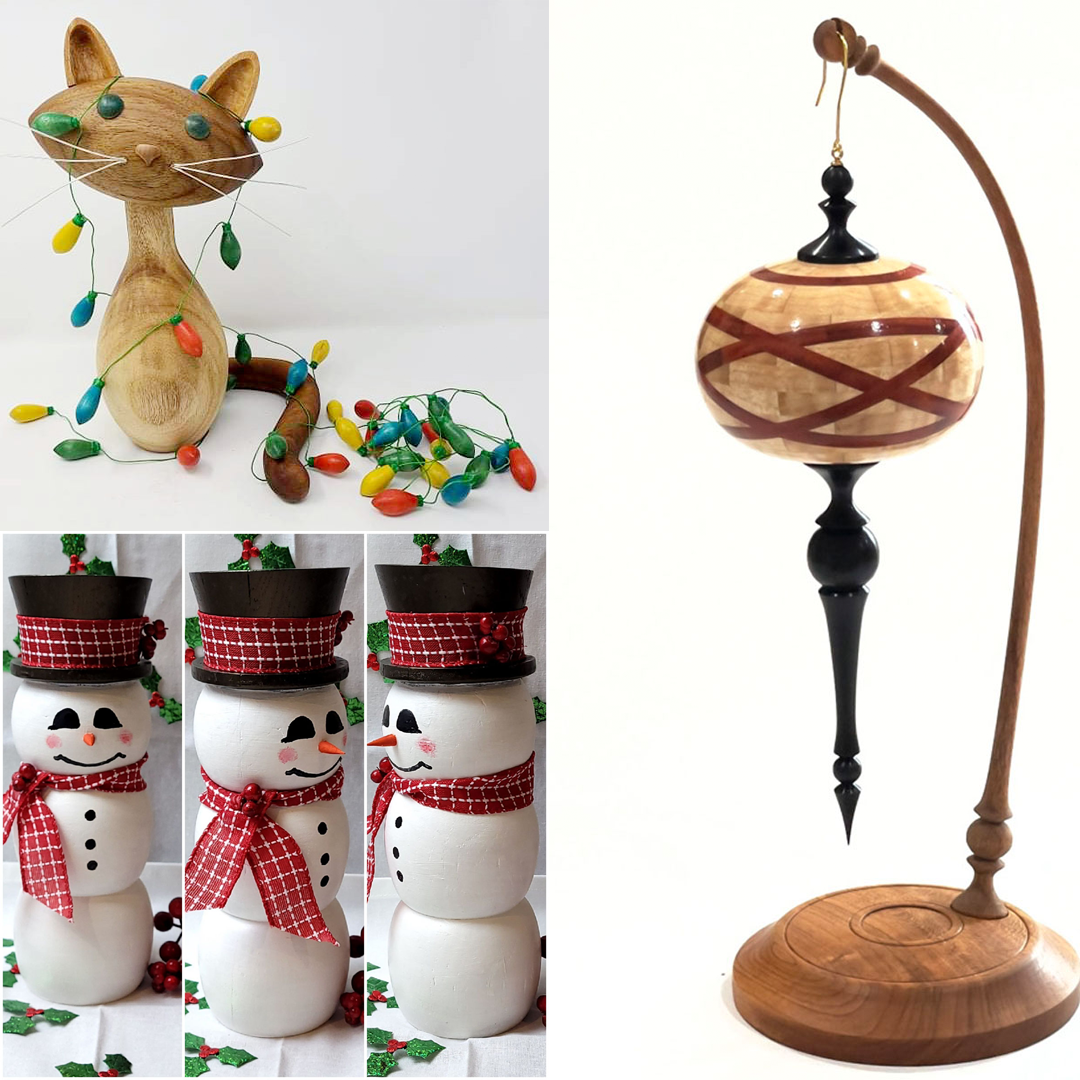
- #21 Christmas Cat-tastrophe by Jose Esteban Cruz
- #59 Celtic Ring Ornament by Franklin Young
- #90 Lantern Ornament by Jiunn-Kai Wang
- #141 Dodecahedron Play by Michael Lobe.
Club winners are:
Cape Cod Woodturners
Arizona Woodturners
Asociation Torneros de Madera – Puerto Rico
Special thanks to our sponsors:
- Craft Supplies USA for gift cards ($250, $150, & $100)
- Starbond for black CA glue with accelerator
- Woodworkers Emporium for discounts for all participants
- Woodturners Wonders for discounts for all participants
- Lumilite for discounts for all participants
- FrogBlanks for discounts for all participants
Thanks to everyone who submitted their ornament.
Thanks to all the clubs who spread the word.
Thanks to our sponsors for providing something for everyone.
If the video goes too fast, there are alternatives:
1). The pause and rewind buttons.
2). At www.OrnamentChallenge.com -This is web page with all ornaments to browse at your leisure.
Voting ended 12 December 2021.
Enjoy!
Woodturning Hedgehog Companion With Secret Compartment
This post is best viewed immediately above here. However, in case of difficulty, it is also posted in YouTube and FaceBook.
I am working on the final results for the Christmas Ornament Challenge. Voting is closed but all ornament can still be viewed at www.OrnamentChallenge.com
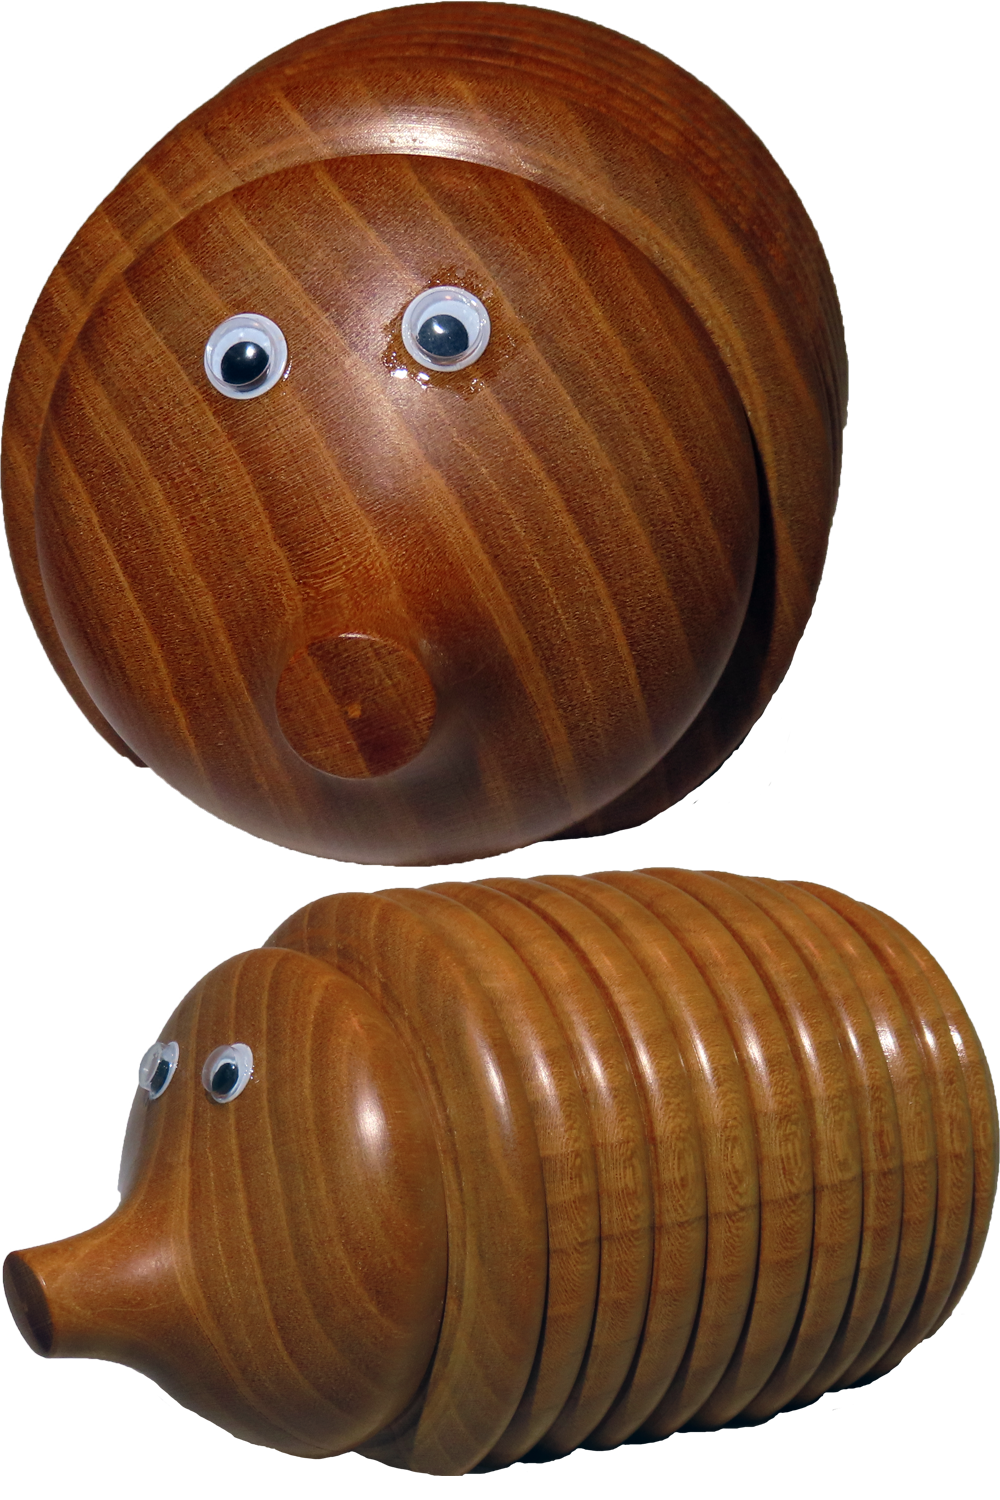
This project is a hedgehog. I like to take ideas from demonstrations at club meetings. This is one of these. But, I also like to do the project my way and, if possible, take it to a higher level.
So, this hedgehog is hollow instead of solid. That does lead to complications. But, they are worth it. After all, it is a box.
The major change on this one is the bayonet style bushing. I designed this bushing to print on my 3D printer with wood PLA. The bayonet engages at three points and a twist. This holds the top on without too much effort to remove it. Much less effort than threading for both myself and the person enjoying it.
Enjoy!
Woodturning Bonus – A 2Fer – Multi Axis Bowls
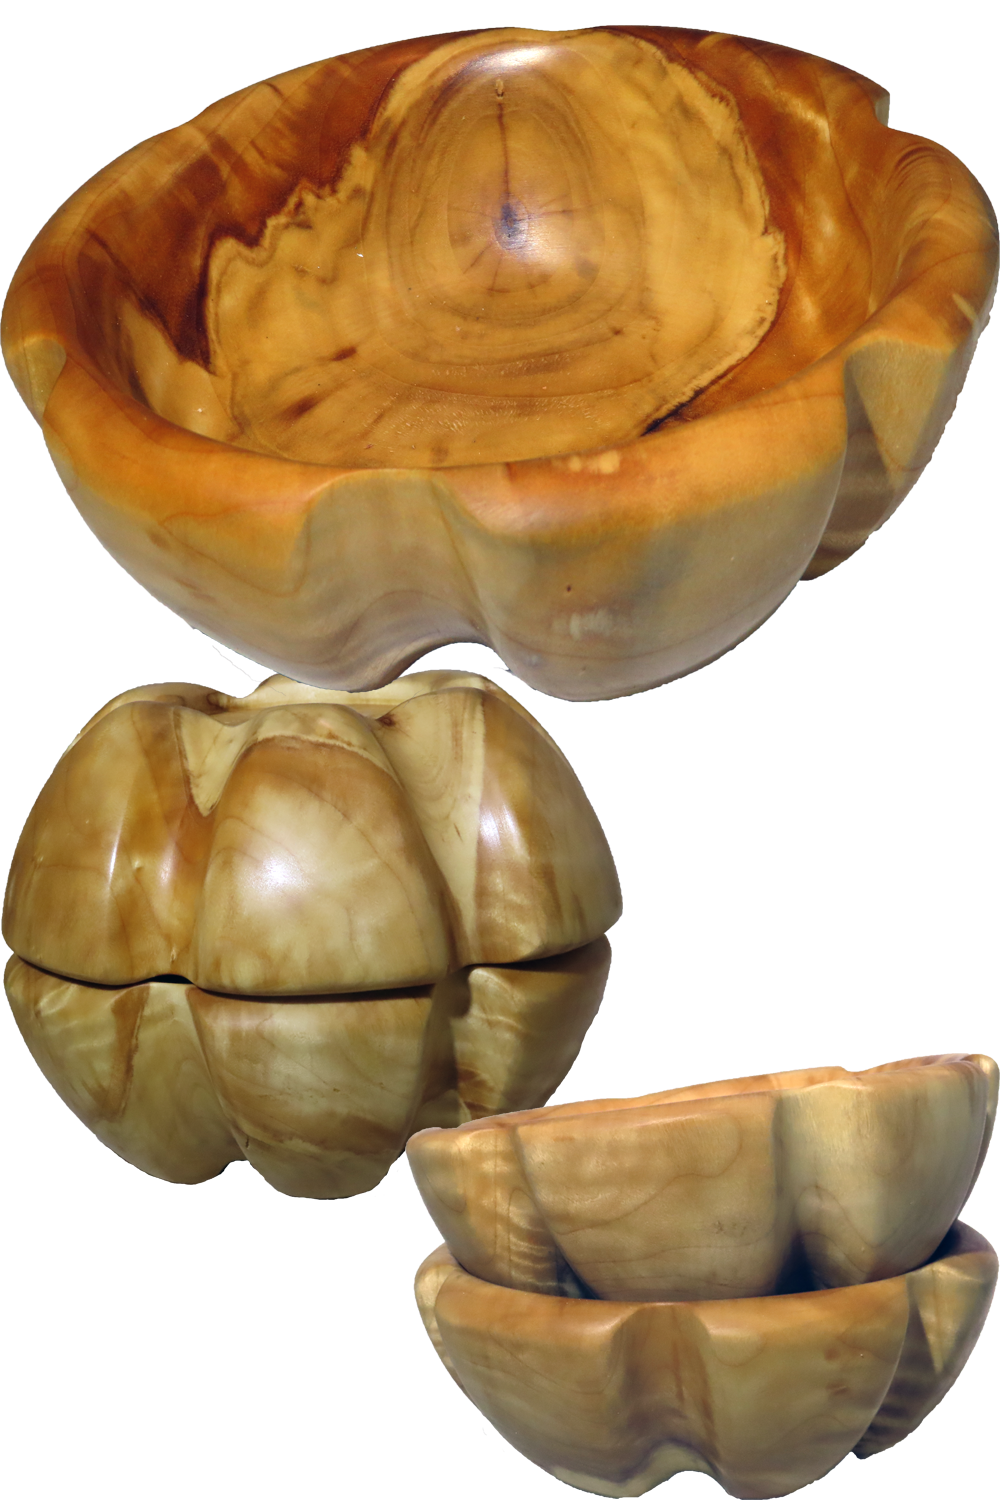
This post is best viewed right here (above here). In case of difficulty, it is also posted on YouTube and FaceBook.
Vote NOW for your favorite ornaments at www.OrnamentChallenge.com
This year I have been on a multi-axis spree from ornaments to displays and now to a pair of bowls.
How To?
- Mark divisions across the equator;
- Using cup chucks, turn coves at each division;
- Cut a mortise on each end – the former north and south poles.
- Cut the sphere into hemispheres.
- Hollow each side into a bowl, sand and finish.
These bowls are finished with walnut oiland buffed.
References:
Woodturning Perfect Spheres – For Wise Turners
Woodturn A Sputnik Sea Urchin Christmas Ornament
Woodturning Multi-Axis Christmas Ornament
Woodturning Multi Axis Pumpkin Box
Woodturning Christmas Ornament – Following The Chain Of Inspiration
Enjoy!
Christmas Ornament Challenge – Voting Time
2 ways to view and vote:
- Static web page: (Link here)
- Video (above);
This is a great display of talent and creativity.
Let us hear your choices.
Pick 5. and leave your vote as a comment. Put them in order from High to Low.
Thank you.
Woodturning Stand For My Christmas Ornaments
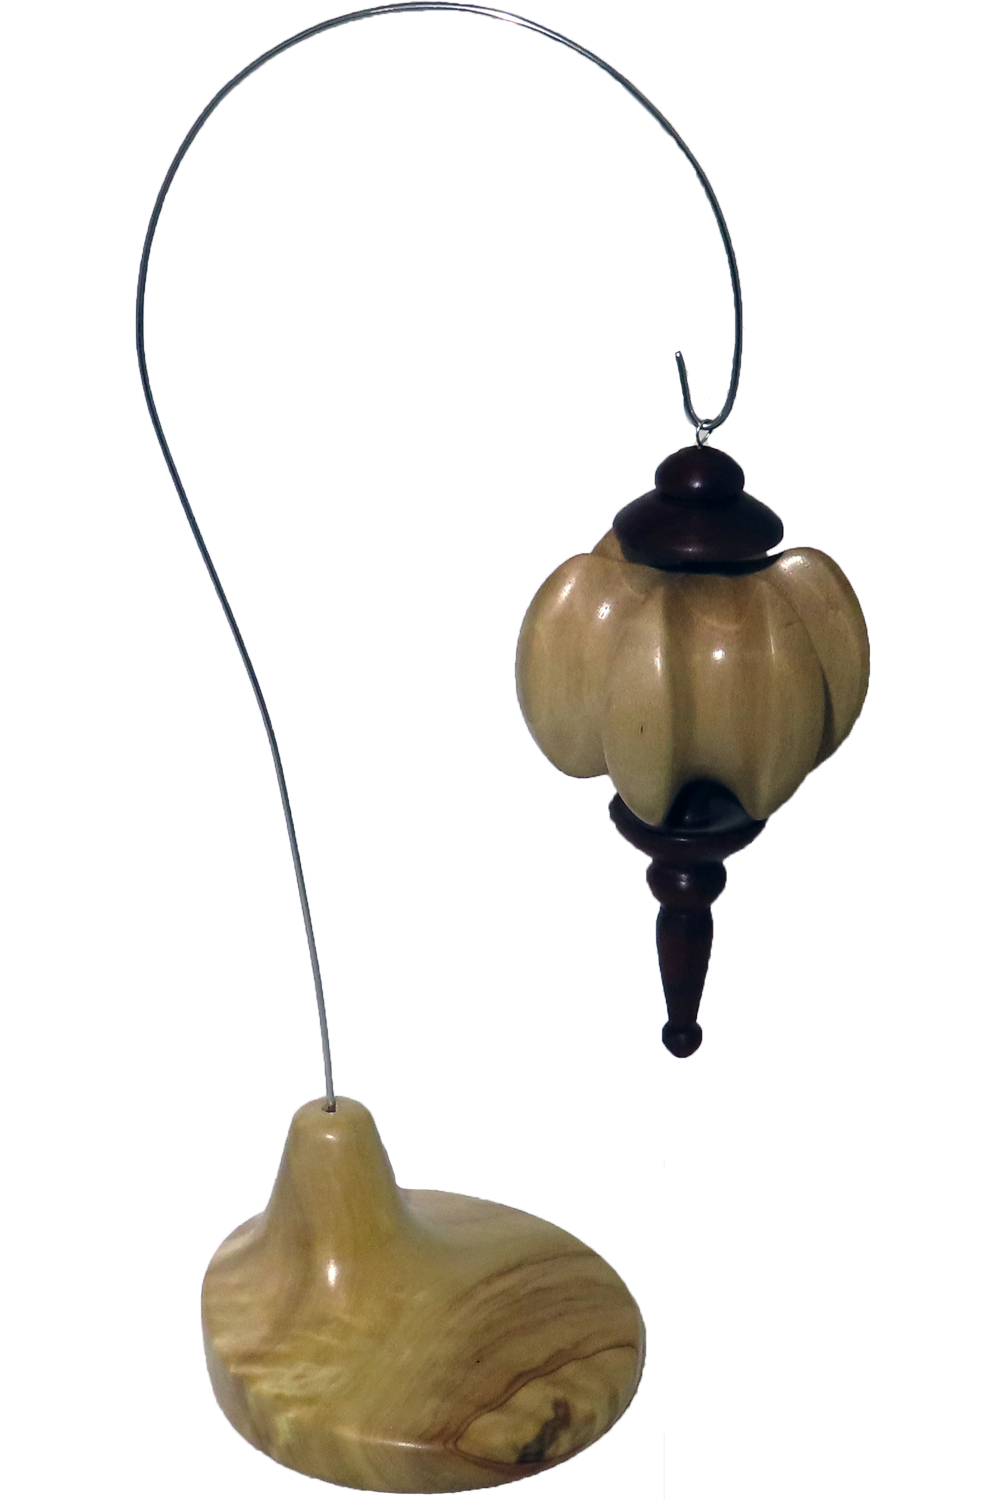
This post is best viewed above on this page. In case of difficulty, it is also posted on YouTube and FaceBook.
This week I turn a stand for my Christmas Ornaments. Trees come and trees go – but ornaments may be displayed anytime.
The stand is figured poplar turned on two axes for an off center place for a wire support.
The wire is stainless steel TIG welding rod, 1/16″ diameter. It comes 36″ long but I have cut it in half. Using my lathe as a bending form, it becomes a nice stand for an ornament.
Enjoy!
This year’s Christmas Ornament Challenge opened November 1st. Ornaments must be entered no later than November 30. There is something for everyone who enters. Go to www.OrnamentChallenge.com
Woodturning Multi-Axis Christmas Ornament
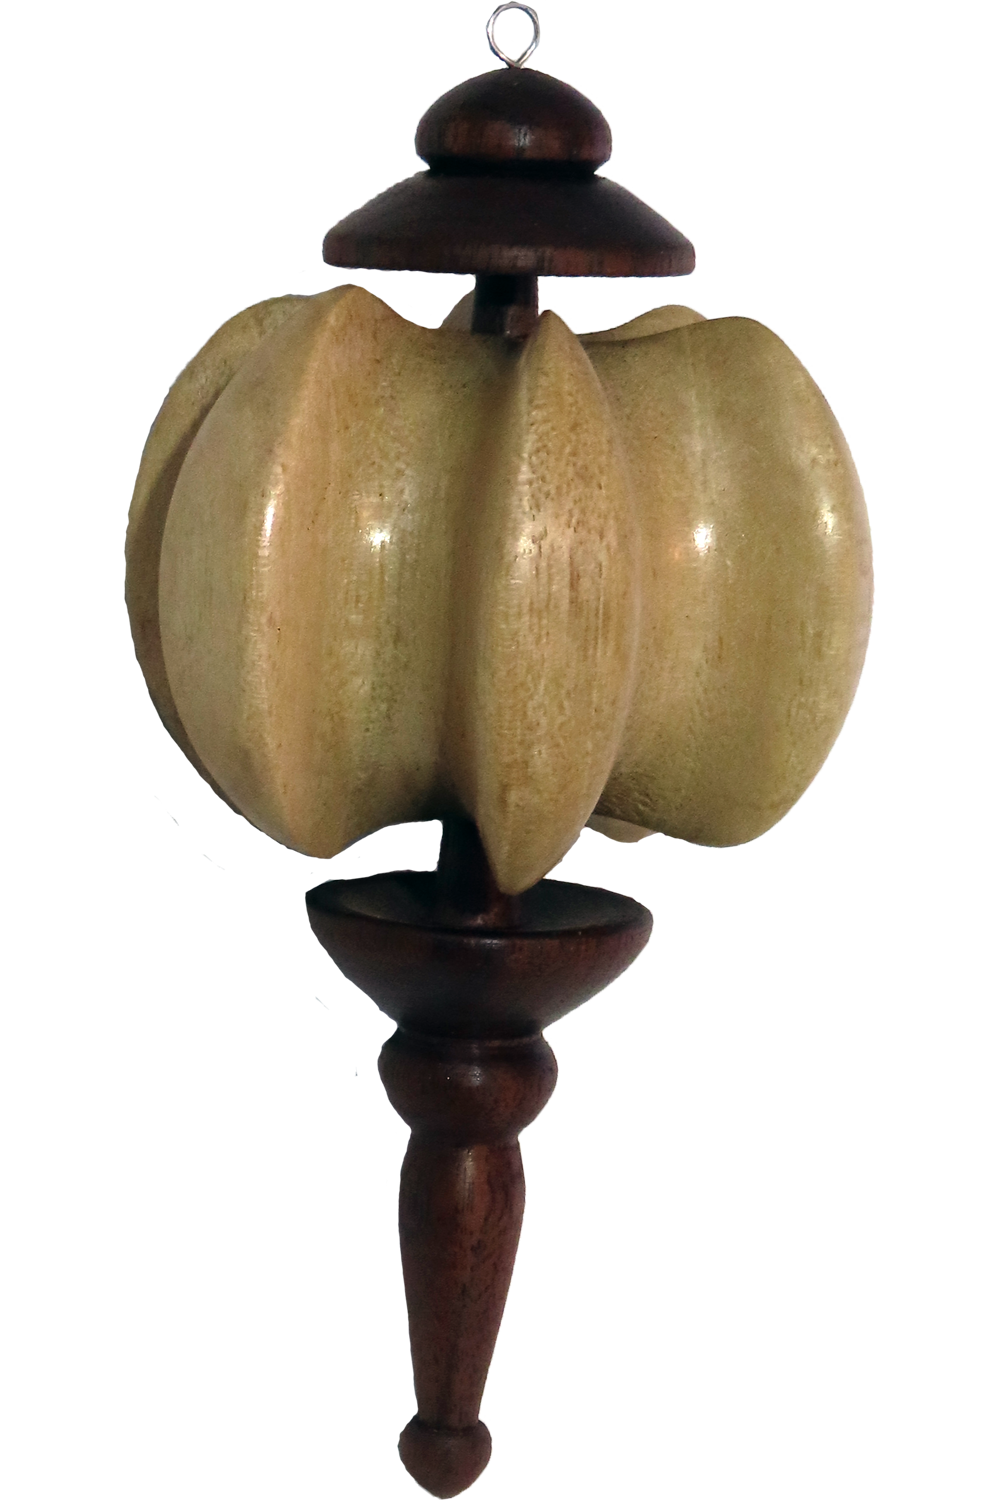
This post is best viewed on this page. However, in case of difficulty, it is also posted on YouTube and FaceBook.
This week I am taking last week’s ornament to yet the next level. It follows a similar process as last week but yet is different. Both are multi-axis turning. In this one the multi-axis grooves are fewer but deeper with a different result. The finial complements the outline of the globe portion.
The globe portion is English walnut. The finial is black walnut. Both are finished with shellac friction polish. Globe is three inches; total height is five inches.
See also Woodturning Perfect Spheres – For Wise Turners
Enjoy!
This year’s Christmas Ornament Challenge opened November 1st. Be ready! There is something for everyone who enters. Go to www.OrnamentChallenge.com
Woodturning Christmas Ornament – Following The Chain Of Inspiration
This post is best viewed right here (above here). But, in case of difficulty, it is also posted on YouTube and FaceBook.
One reason I love the annual Christmas Ornament Challenge is the diversity of creativity that jumps out at me as I view the challenge submissions.
From novice to confident to expert, the opportunity to see how others have taken a simple concept – an ornament – to such a level of talent.
In this case, an ornament from last year cited my Faux Sea Urchin as inspiration. But, if I trace the inspiration for the Faux Sea Urchin, I see many real sea urchin ornaments plus the bat form from Max Brosi. On a similar thread, the pumpkin from a couple of weeks ago, was inspired by the Faux Sea Urchin as reported by a viewer who sent me his picture. That pumpkin, in turn, together with the ornament from last year, has inspired this ornament.
These also derive from a basic skill, the ability to turn a perfect sphere. I am often asked, “what do you do with a sphere”. Well, all these used the octagon method for turning a perfect sphere. Plus many more. That is another great story.
See also Woodturning Perfect Spheres – For Wise Turners
Enjoy!
This year’s Christmas Ornament Challenge opened November 1st. Be ready! There is something for everyone who enters.
Woodturning Ornamental Tree Grove
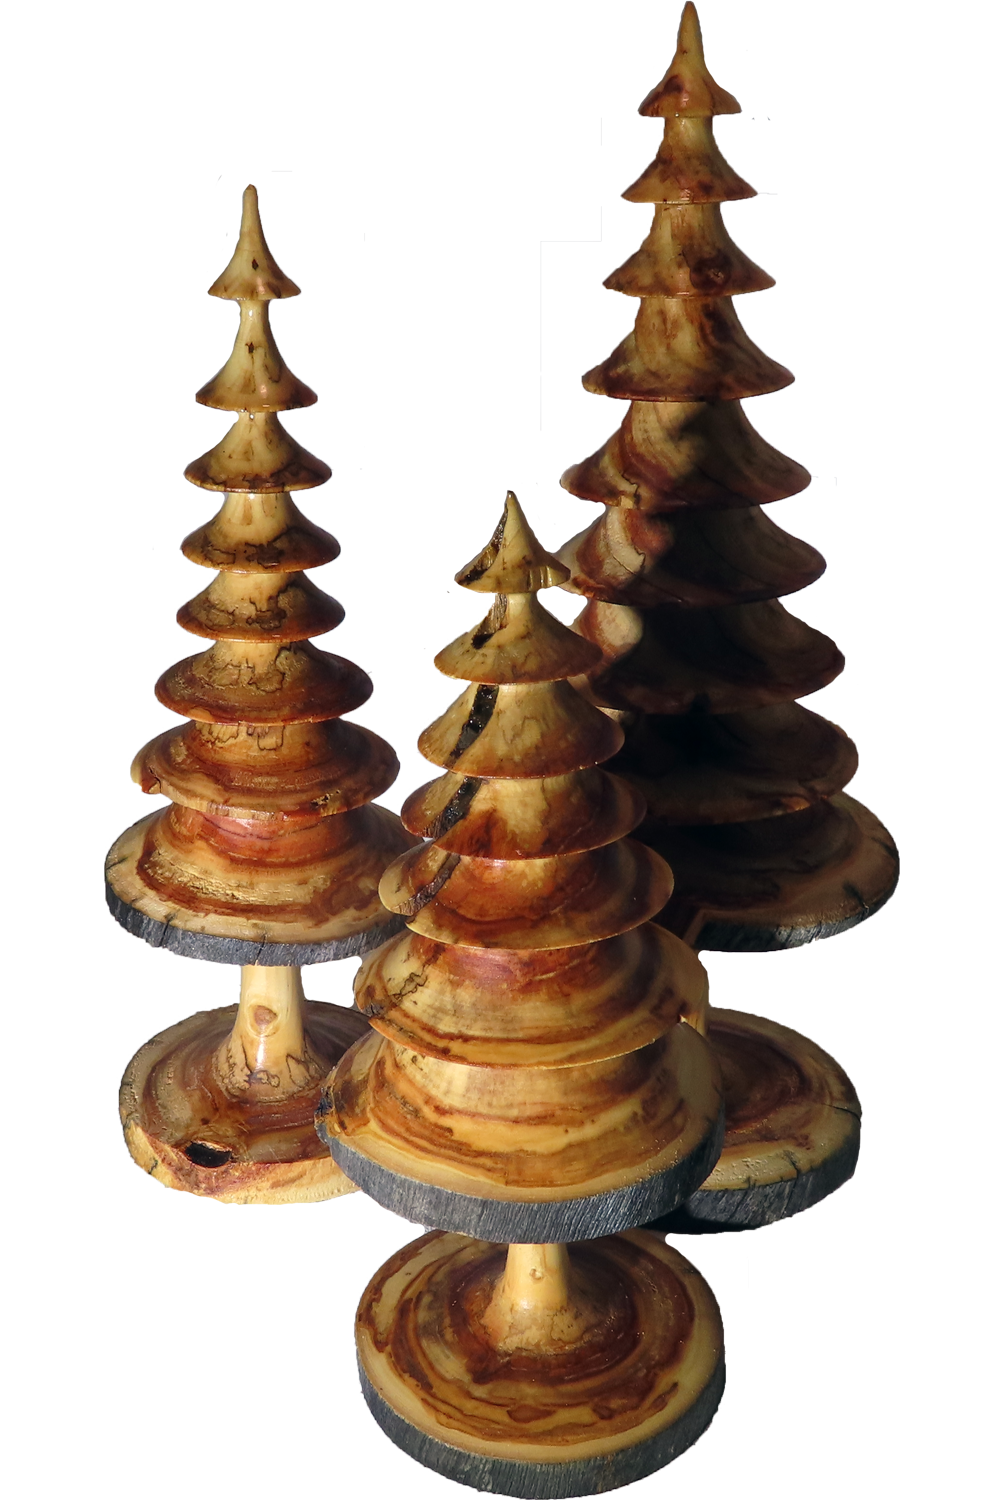
This post is best viewed right here(above). In case of difficulty, it is also posted on YouTube and FaceBook.
T’is the season to be turning decorative trees. Two different clubs that I attend have not demonstrated turning trees. It is interesting to see the variety of concepts: cove-centric; bead centric; rustic; refined; natural edge.
So, I went home and turned a small grove for myself from some weathered aspen. While weathering, the wood also spalted with some very pretty color. The offset is that the same process that brought in the color, also weathered the exterior, and made the wood much more subject to chipping.
My trees are 9″, 11″, and 12″ tall and about 4″ diameter. I did not attempt to repair all chips but left the trees somewhat rustic to match the weathered natural edge. It cannot be a live edge since the tree is long dead. Each is sprayed with rattle-can lacquer.
Enjoy!
This year’s Christmas Ornament Challenge opened November 1st. Be ready! There is something for everyone who enters.