2024 Christmas Ornament Challenge Call For Votes
The annual Ornament Challenge has 344 ornaments for this year from over 180 people/.
There are all sorts of ornaments any craft, any media, any tradition.
It is time to vote – Voting closes 15 December 2024. Please use the voting form that is linked in the instructions on the page displaying all the ornament. In case www.OrnamentChallenge.com does not redirect, it should go to https://www.aswoodturns.com/challenges/2024-ornament-challenge/
Thanks in advance for your votes – remember one vote submission for five ornaments.
Enjoy.
Combining Inspiration To Turn My Unique Christmas Ornament
Where does inspiration come from? I have asked that question many times. This time, I can identify where it came from: Last week’s ornament and the pumpkin also turned recently.
After turning a sphere, I mounted it after rotating the axis 90 degrees and then adjusting the axis to turn several shallow coves. Then mount it to a doughnut chuck to hollow the front. Finally an attempt to embellish further with paint. (That part did not turn out so well).
The body and finial is finished with shellac. I attempted to apply acrylic paint and then Rub N Buff for a swirl. After failing, I applied Rub N Buff to the entire hollow.
Also, I keep adding accessories to my doughnut chuck.
Enjoy.
p.s. If you would like a more in depth demonstration than my weekly videos, please contact me for an IRD (Zoom Demo) on this or other topics.
Turning My Christmas Ornament
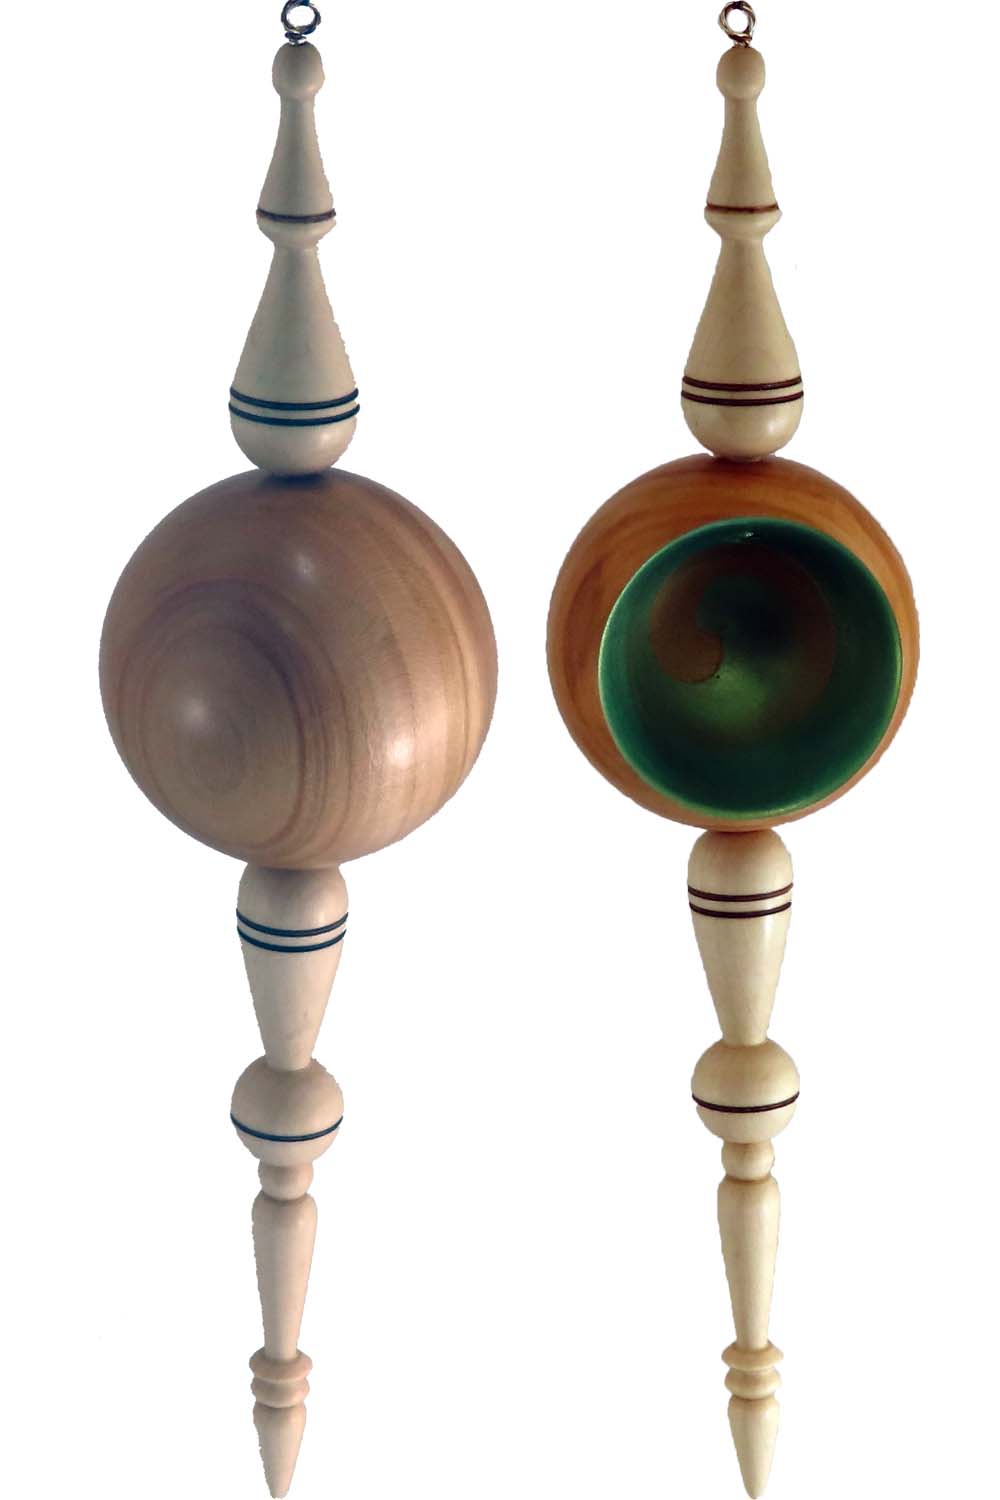
Where does inspiration come from? The answer is anywhere. Even pictures that you adapt to your own style.
This ornament consists of a sphere from cherry for the main section that is hollowed from one side. The hollow is painted with an iridescent paint and a swirl of gold Rub N Buff. Maple finials complete the ornament.
The ornament is about 11 inches long and almost 3 inches in diameter. It is finished with shellac friction polish, iridescent acrylic paint and Rub N Buff.
Enjoy.
p.s. If you would like a more in depth demonstration than my weekly videos, please contact me for an IRD (Zoom Demo) on this or other topics.
Harvesting Turned Autumn Pumpkin Box
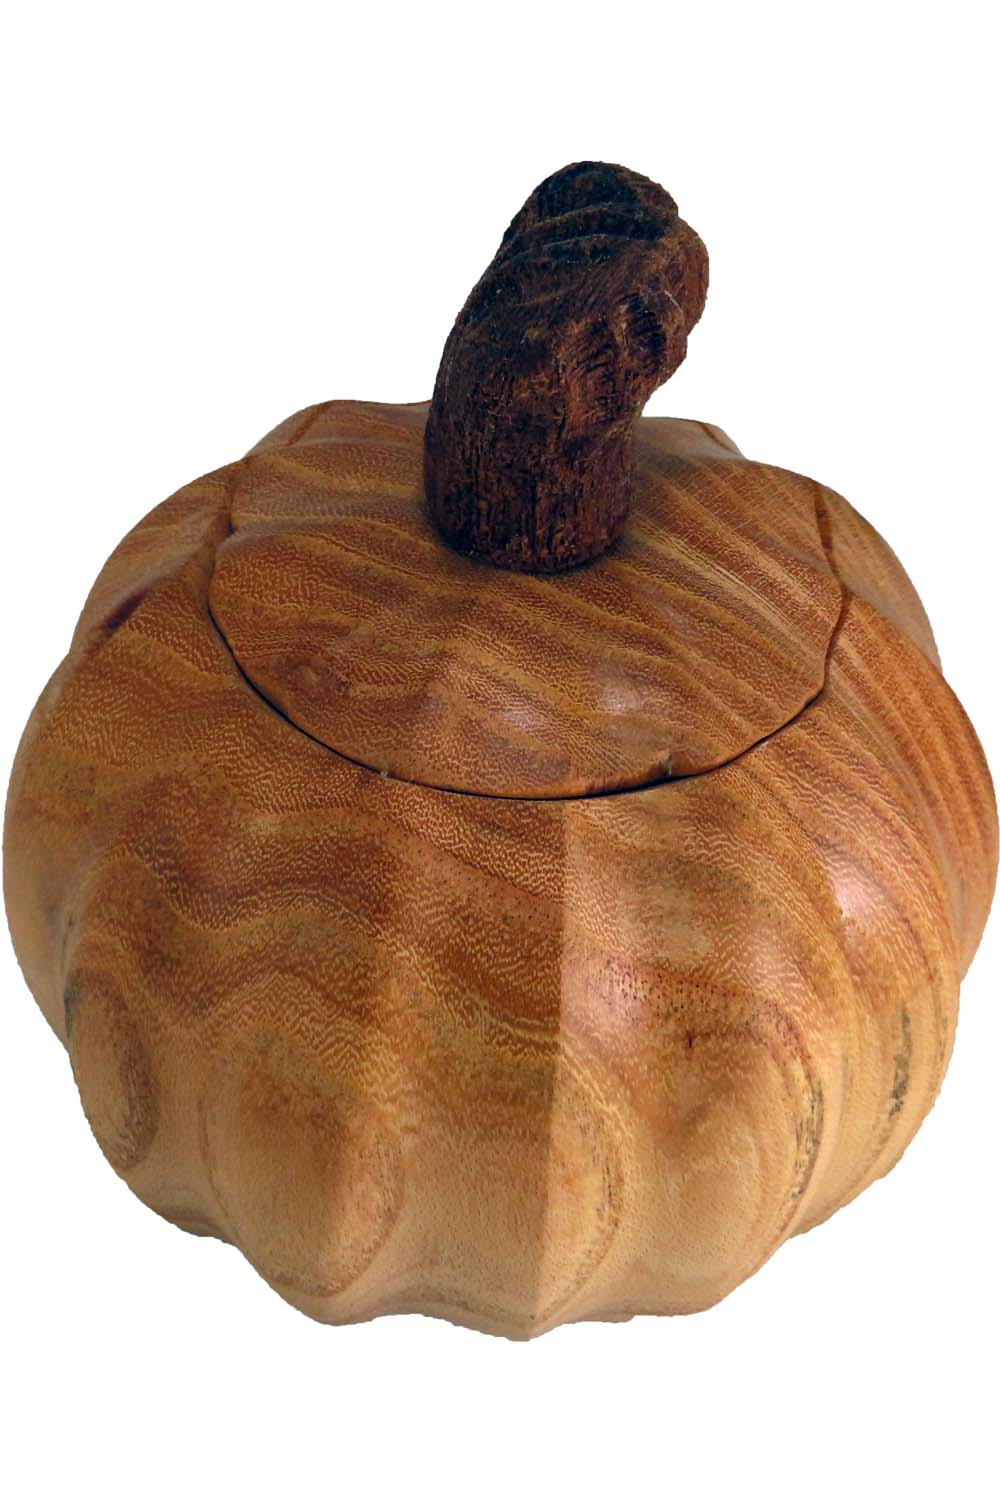
This project is a great multi-axis box in the form of a pumpkin.
The twist is that the lines on the pumpkin continue into the lid, thus integrating the lid and base portions.
This wood is honey locust which has a great color and grain. However, it is so hard and brittle that I would recommend a more friendly wood such as cherry.
The box is spherical and based on the octagon method for turning spheres.
The box is about 4 inches round plus a stem carved from sapele. All finished with shellac.
Enjoy.
Not So Artificial Intelligence For Turning Design

I wanted to design a classic vase but needed inspiration and did not want to draw a design from scratch. Then I thought “Why not use the internet”. But instead of looking and a picture, use the computer to take it further.
So, browse the web for a likely candidate. It will not be perfect – I only need the general shape. Then copy and paste the image into another design software.
If turning solid, some measurements and go to the lathe.
If segmenting, take the software approach further to lay out segment rings of a target height. Then let the software tell me diameters that can be plugged into a spreadsheet for final calculations.
What a boost.
The Ornament Challenge began accepting entries November 1st.
Enjoy.
Turning Honey Dipper For Sweet, Quick Gift
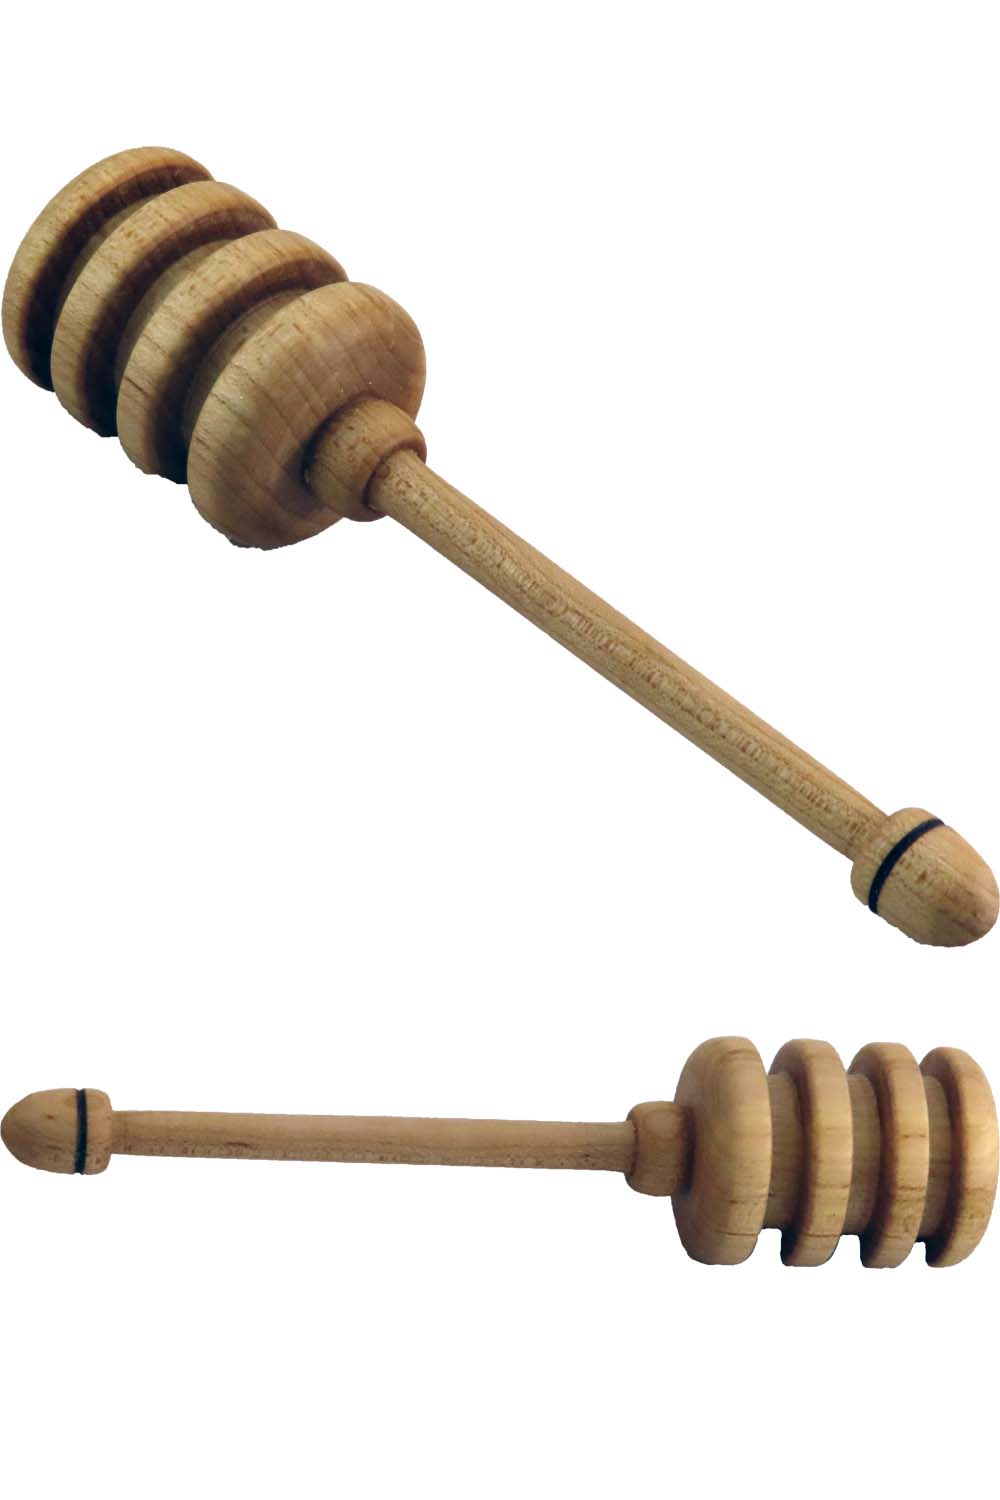
This project is a quick and easy project. If you can turn a spindle and use a parting tool, you are good to go.
Prepare wood spindle of close grain, non-toxic wood with a tenon to mount to a chuck.
shape the dipper end with grooves – depth is optional – number is optional.
Finish the dipper with a handle and any other accents that may be desired.
Maple 1″ plus diameter by almost 5″ long finished with beeswax and mineral oil mix.
(1 pint mineral oil and .25 pound beeswax.
The Ornament Challenge will begin accepting entries November 1st.
Enjoy.
Turning Quick and Easy Tool For Quilting Friends

This project is another quick and easy project. One that my sister who is greatly affected by the quilting virus has requested several times. If you can turn a spindle, you are good to go.
Prepare wood spindle of close grain, with a tenon to mount to a chuck. I like maple but since as a spindle, it is fairly plain, I like to add burned in grooves for accents. I like to keep the spindle finger friendly. This is not the time to show off big beads and coves.
Maple 1″ diameter by almost 7″ long finished with shellac.
The Ornament Challenge will begin accepting entries November 1st.
Enjoy.
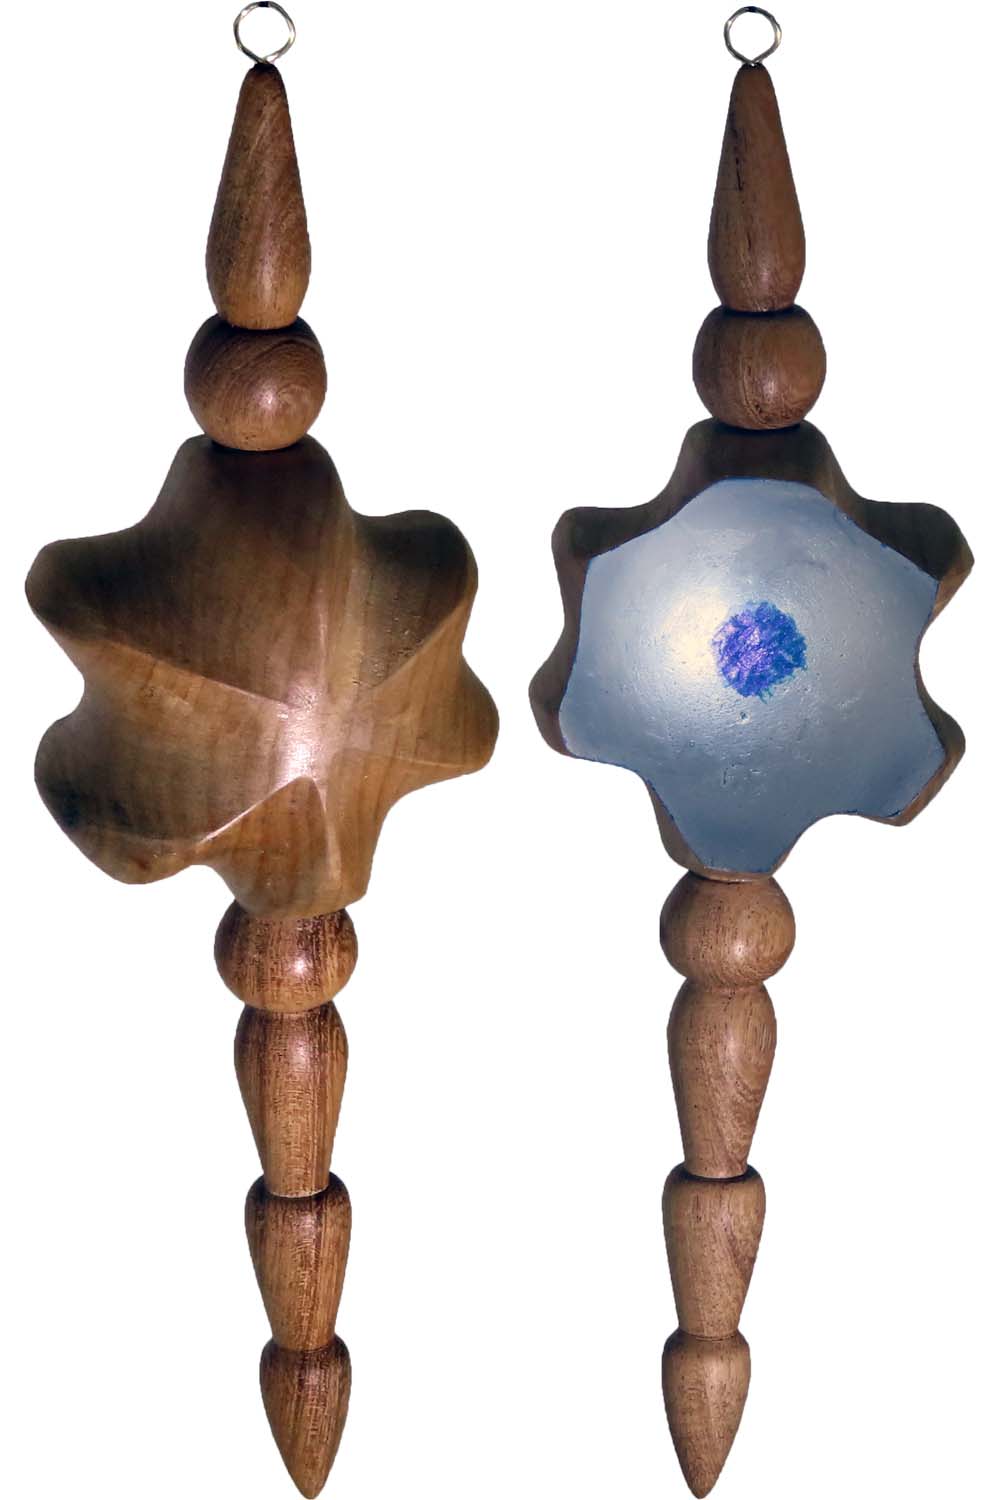
Turning Curly Flame Finial As An Ornament
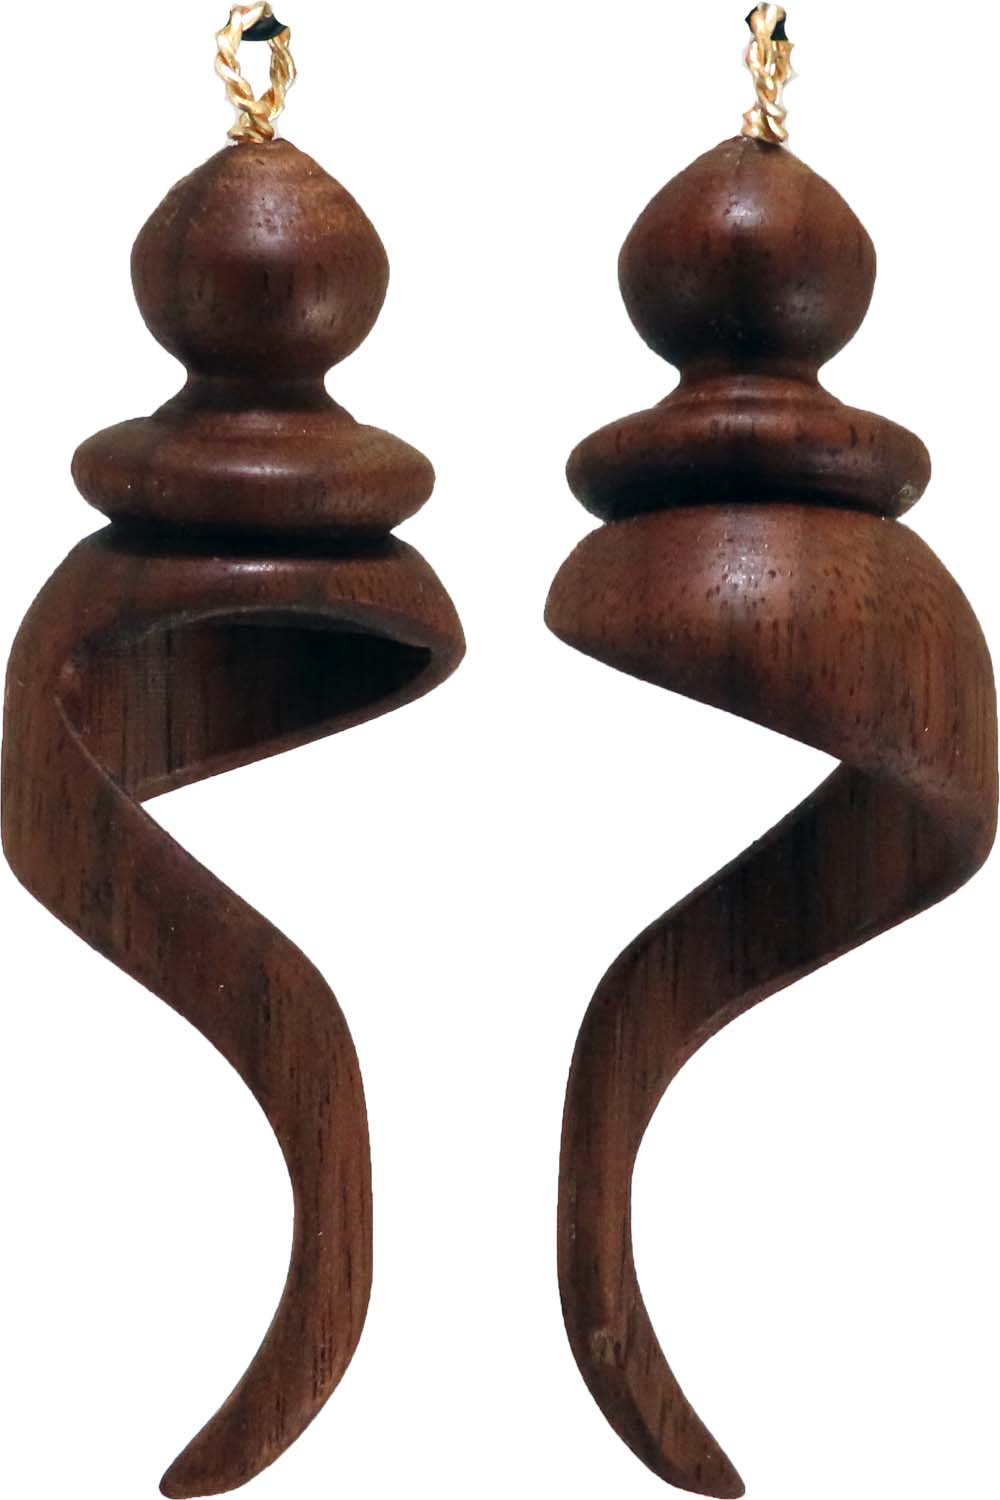
This project is a fun one. Essentially, a finial can be used either upright – flame up – or flame down. For this ornament, this walnut is hollowed and carved.
Could it be longer. Probably. However, I would not recommend more rotations since that would result is much more fragile short grain. I would stretch it to preserve long grain.
Either way. a fun ornament.
Walnut 1″ diameter by 3″ long finished with shellac with 22 gauge twisted wire hanger.
The Ornament Challenge will begin accepting entries November 1st.
Enjoy.
2024 Ornament Challenge Kickoff Announcement
The holiday season is rapidly approaching and with it – The annual Ornament Challenge – this is number 14.
The challenge welcomes ornaments of all sorts, any craft, any media, any tradition. At least, these are the predominate ones. By the way, collaboration is also great.
However, there is a deadline. All ornament must be submitted during the month of November at www.OrnamentChallenge.com. The entry process will open November 1st and close after November 30th.
Enjoy.
Turning A Trivet With A Touch Of Technology
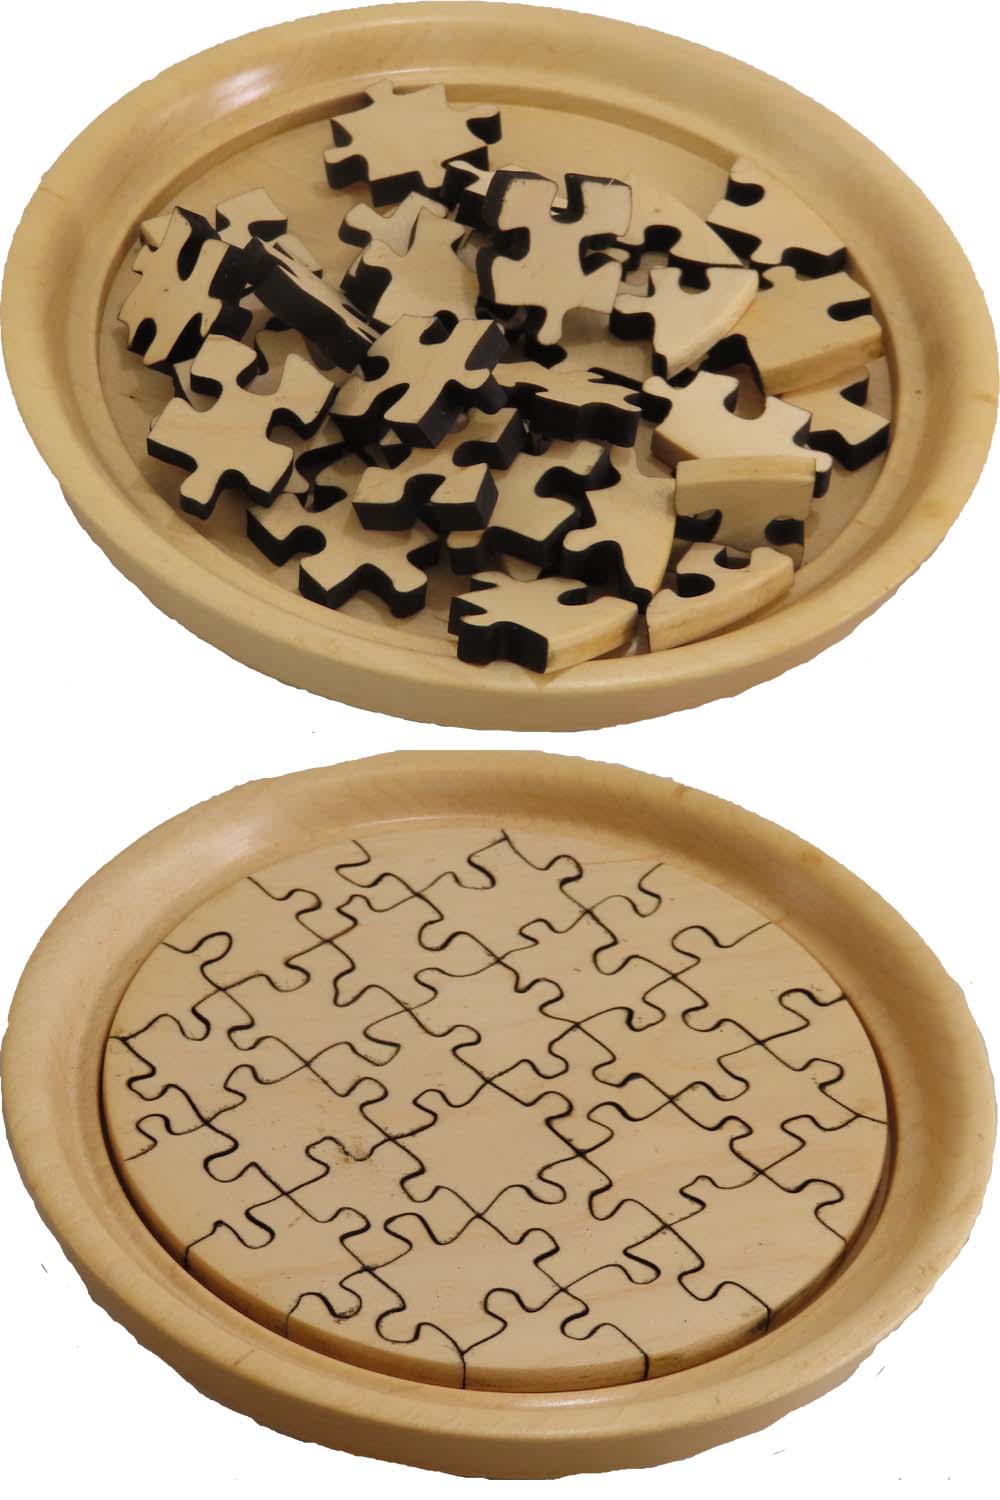
This piece combines technologies: old and new – turning and laser.
The turning is a 6 inch flat tray from maple whose inside is designed for a puzzle.
The puzzle is laser cut on a 40 watt LED laser.
I love integrating methods, materials, and technology in creative ways.
Enjoy.